Mikes Mirror - Hardware
So I decided to build a Smart Mirror as a hobby project. I knew that I could handle the software side of thing but building a frame and wiring the electronics up was going to be a whole new adventure.
Parts
This is a 3 part series, find the other parts here:
- Mikes Mirror - Overview
- Mikes Mirror - Hardware
- Mikes Mirror - Software
Research
So first thing I did when trying to work out how to build this thing was to look at other people's efforts. I watched hours of Youtube videos and read just about every post on the Magic Mirror forum.
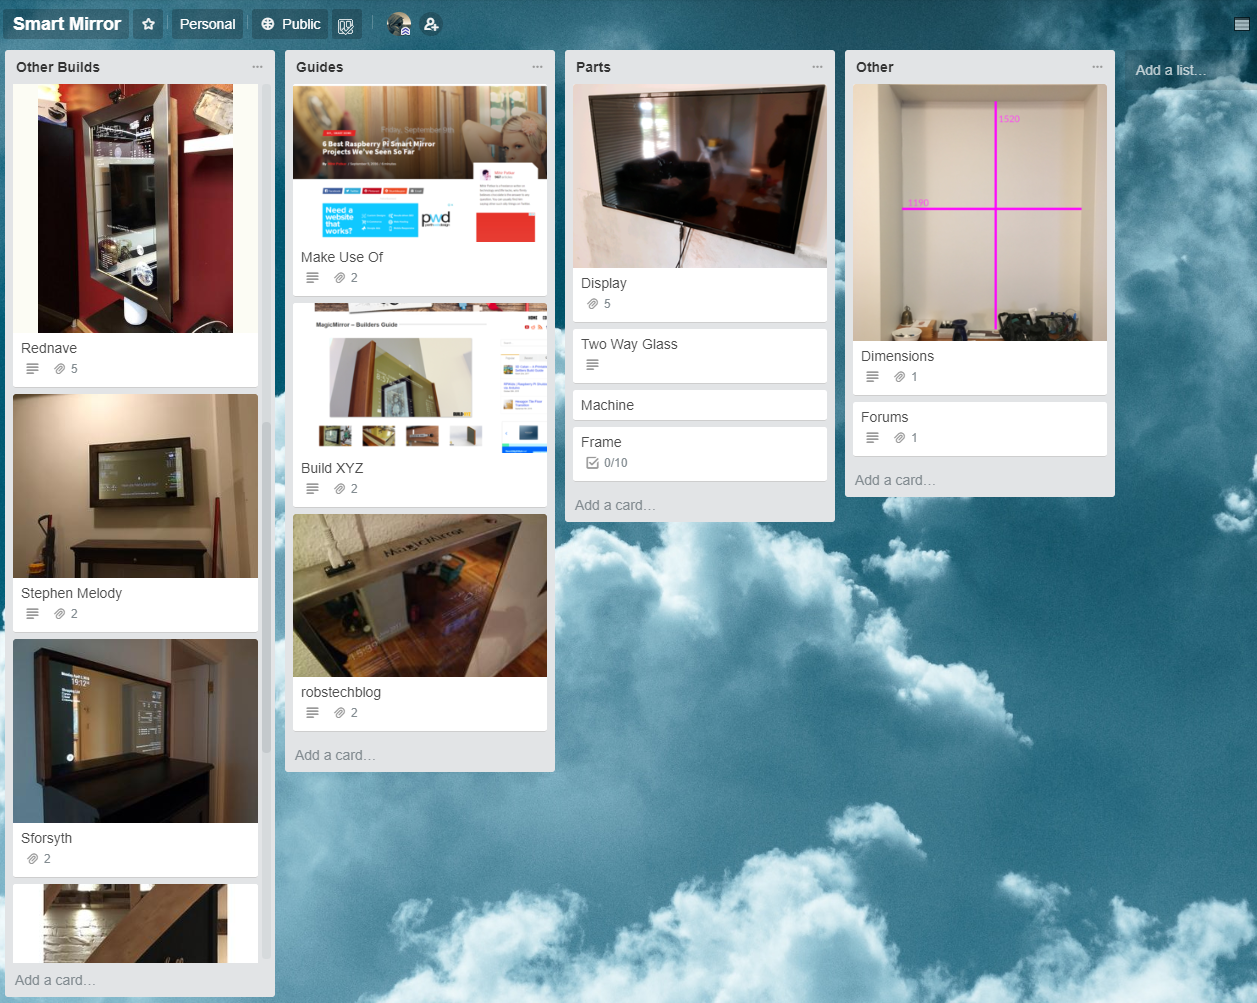
I recorded some of the best ones I liked in a Trello Board:
Requirements
After doing the research I realised there were way too many different options so in an attempt to narrow my possibilities I would enumerating my requirements:
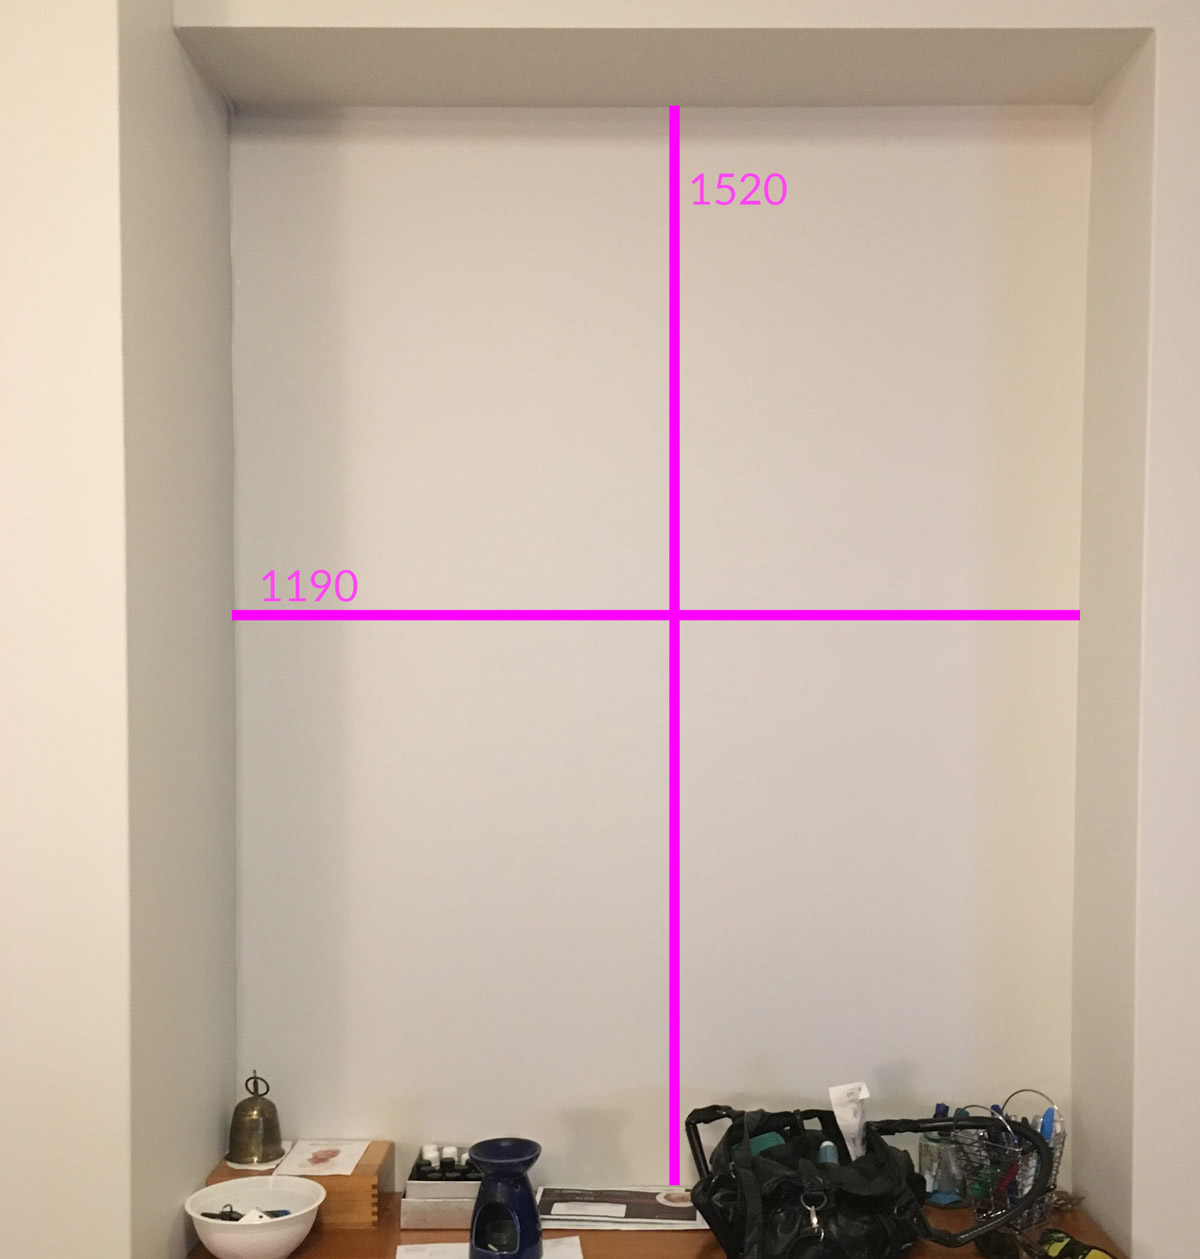
- It must be able to fit in the little alcove near my front door:
- Ideally it will blend in with the other wooden furniture in the apartment.
- Its a rental apartment so we cant put holes in the wall, so it must be light enough to be able to be supported by stick-on hooks.
- The processor must have enough power to run Facial Recognition, Speech Recognition and a display at a decent framerate all at the same time.
- It shouldnt cost too much
The Computer
To perform the various functions of the mirror I needed a computer of some sort. It needed to be small and light enough that I could attach it behind the mirror.
One of the most obvious and well known options for this is the Raspberry Pi. Through my research I had discovered that there were a great many other types of devices with significantly higher specs than the Pi. This great article lists 20 of them for example: https://www.techrepublic.com/pictures/want-a-more-powerful-raspberry-pi-choose-from-these-20-alternatives/
In the end I decided to buy not one but two computers.
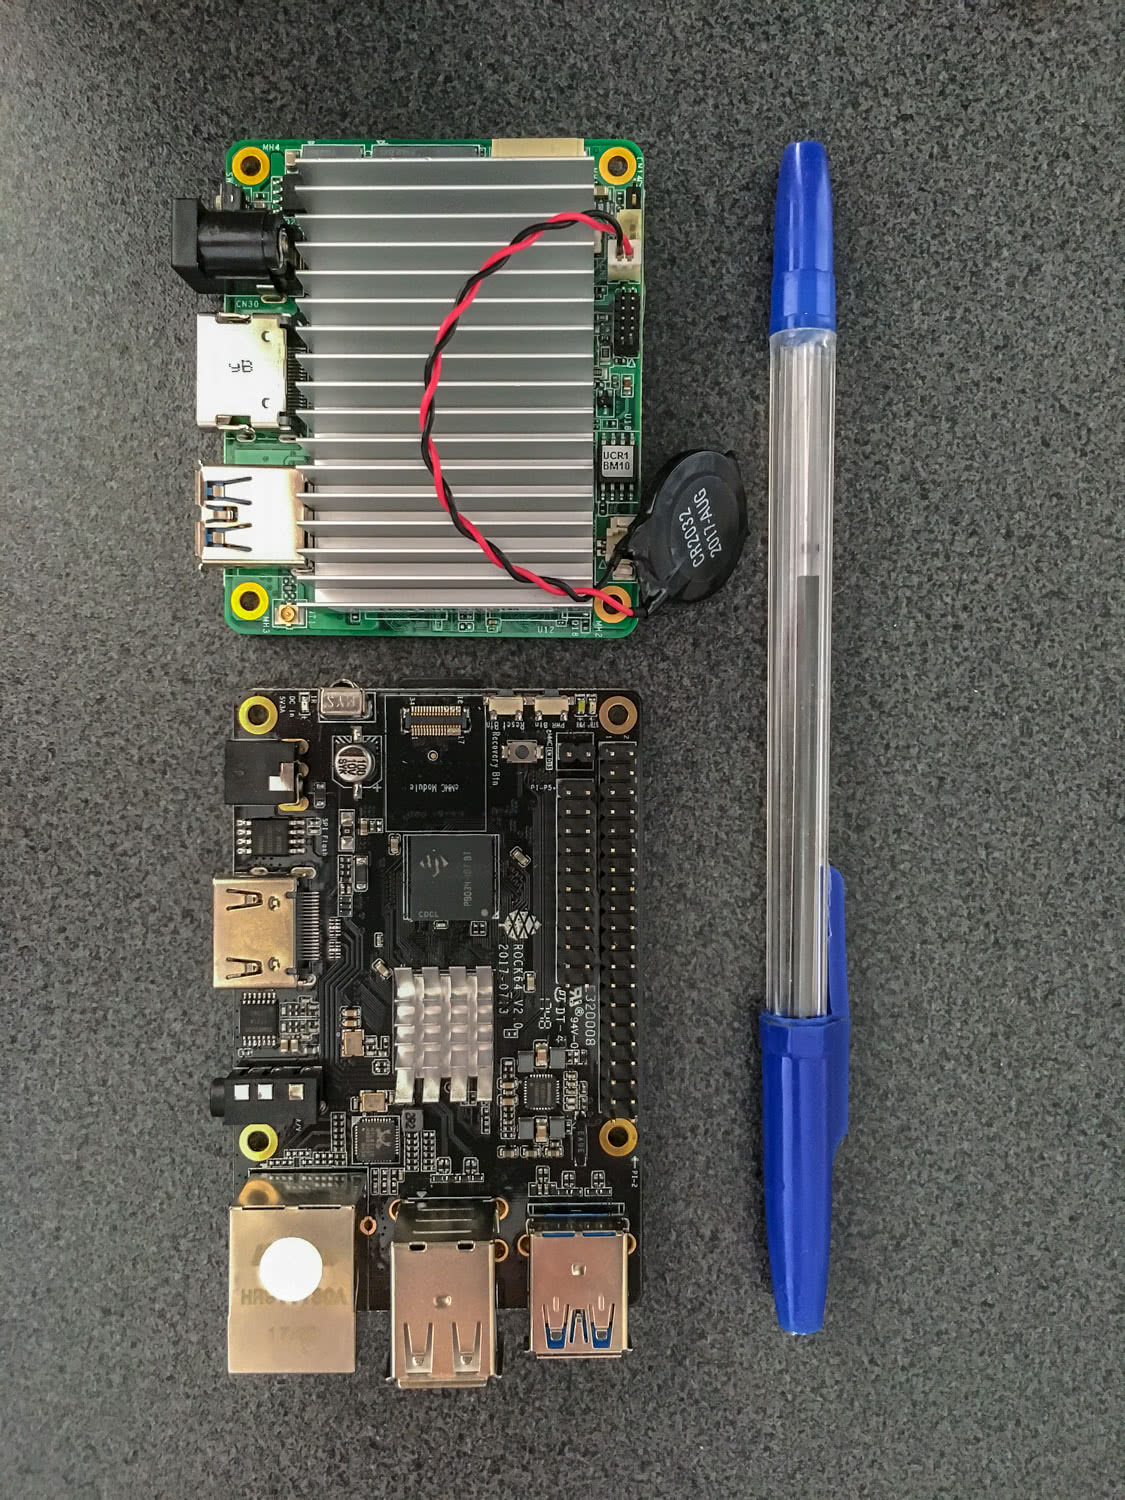
Firstly the Pine Rock64:

This is a cheap ARM powered board the size of a credit card that according to reviews is significantly more powerful and more memory for the price than the Raspberry Pi 3.
I also decided to buy an Up Core:
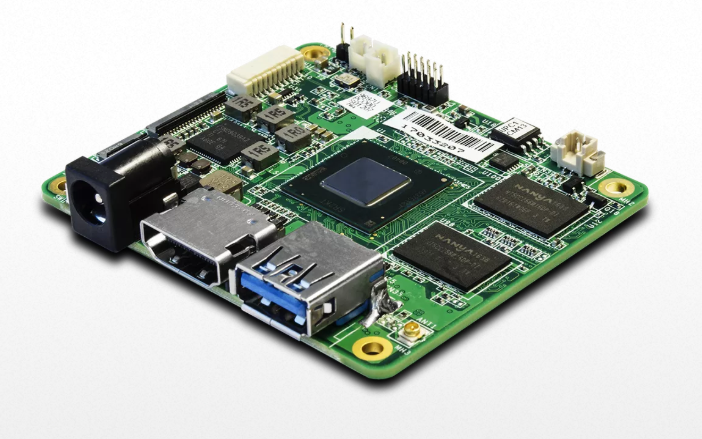
The Up Core is about 4 times as expensive at the Rock64 but is even more powerful and significantly, it runs on an Intel x86 CPU instead of an ARM CPU. This is important because I knew from past experience that there may be issues trying to get things to work on ARM powered devices.
Projects on Github tend to be written with x86 in mind and drivers tend to expect common operating systems, so with the Up Core being x86 means that I can run Ubuntu or even Windows if I want.
When they arrived I tinkered with both but ended up using the Up Core in the mirror due to the extra performance and the compatibility of the operating system with all the software.
Camera
I looked at quite a few different cameras on Aliexpress.com. I had a lot of unknowns.
- I wasn't sure if there were going to be drivers for them
- I wasn't sure if the quality was good enough for facial recognition
- I wasn't sure what lens-angle I needed
- I wasn't sure how I was going to build it into the frame.
In the end, due to my uncertainties and the fact that they were all relatively cheap, I decided to pick up three different cameras:
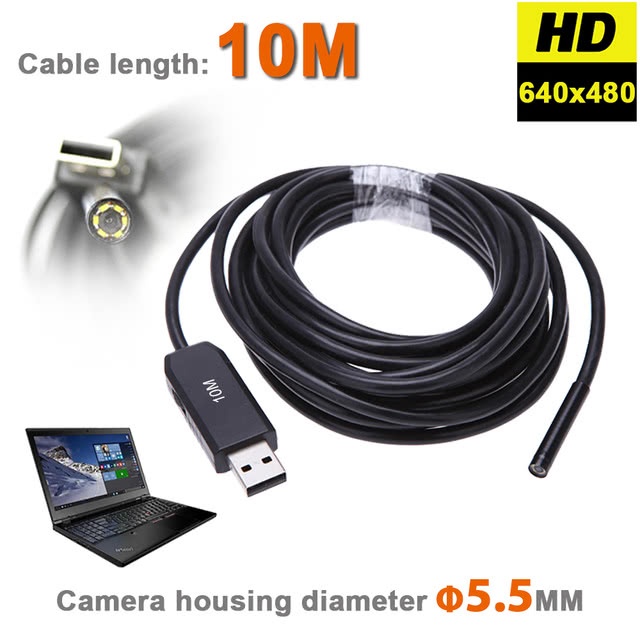
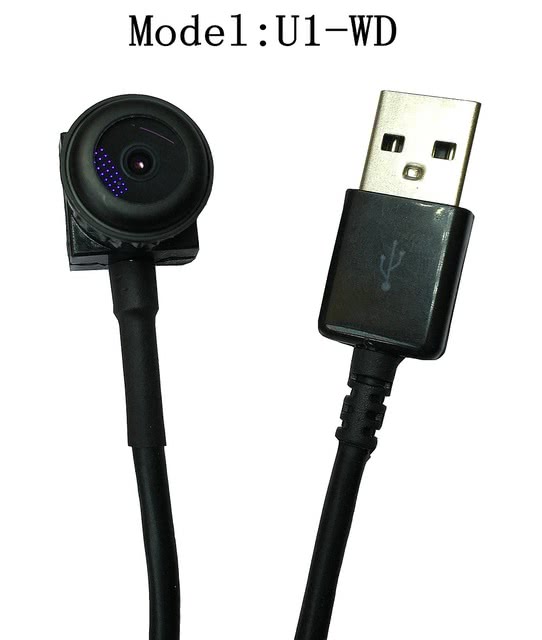
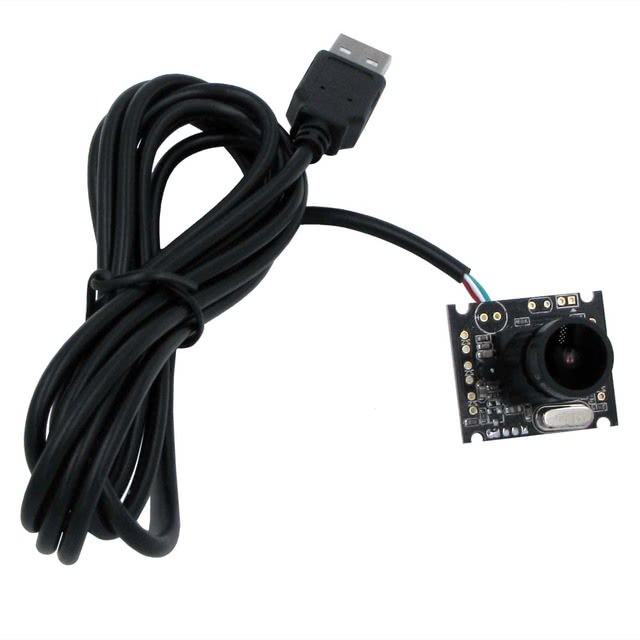
I ended up using the third camera in the end mainly due to the superior picture quality over the others.
One thing to note for next time is that all 3 of the cameras had no trouble running on both Linux and Windows. I didnt have to go searching around for drivers, they just worked :)
Microphone
As with the camera I wasnt sure about microphones. I ended up picking up this cheap one from ebay:
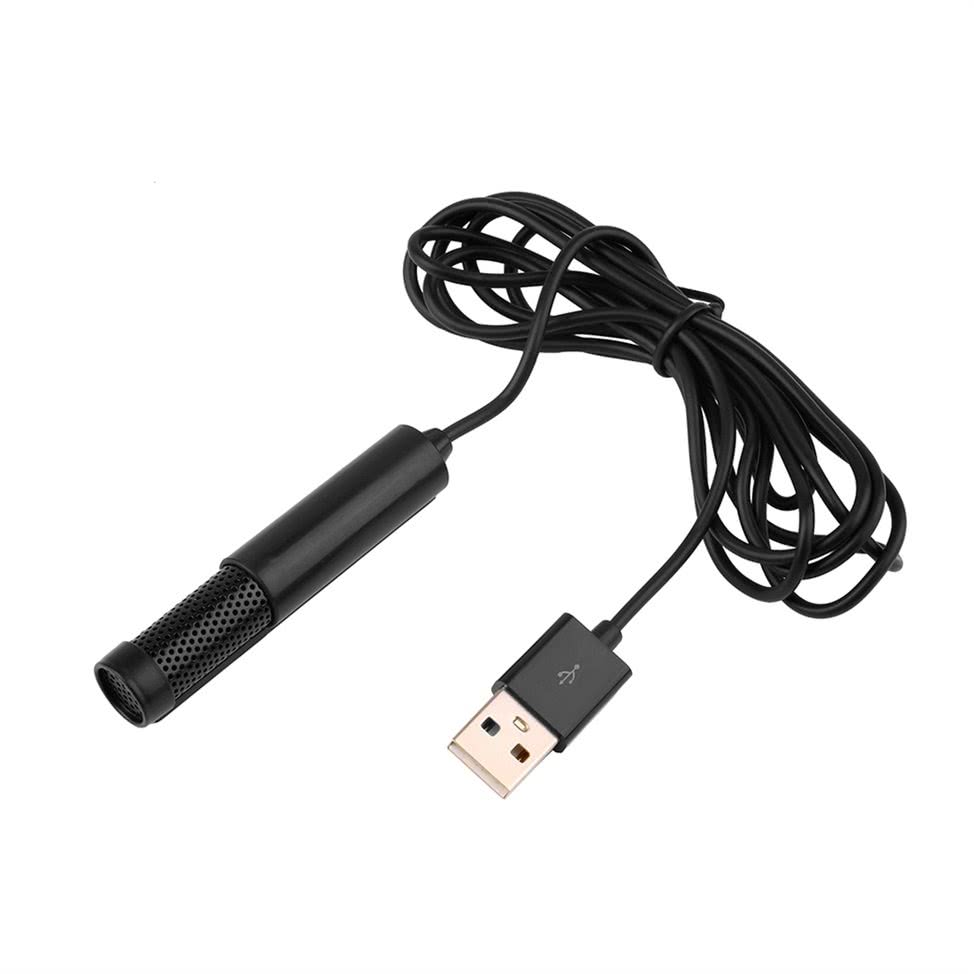 (usb mic)
It does the job but I think ill have to invest in something a little more sensitive (and expensive) soon so I can use the voice controls from a further distance.
The Display
I decided early on that I wanted the display to reach all the way to the edge of the mirror. During my research I noticed that some people mounted a smaller display behind a large mirror thus giving the illusion of a large screen:
 (img showing monitor mounted in only a small part of the frame)
I was concerned that this might be noticeable under some lighting conditions. I also wanted to be able to show things in each corner of the mirror. So for me I needed to have a single large display that covered the entire mirror.
At first I considered using a touch sensitive display of some-sort. After some more thought I realized that it would probably be dangerous having people poking the screen on the wall when its only attached by sick-on hooks. Instead of touch I would use voice and camera as input.
I had a choice to make around whether I wanted to use a PC computer monitor or a TV. LED TVs usually start at about 32" and go all the way up to a bajillion inches. I had about 40" of space to work with in the little alcove but as I was weight constrained and TVs tend to be heavy I was starting to think that probably a PC monitor would be best.
Another factor that made me decide on a PC monitor instead of a TV was the resolution. I was concerned that because you would stand relatively close to the mirror you might notice a lower resolution (720-1080p) TV.
![]()
So for those reasons I finally decided on a PC monitor. After some searching on Gumtree for 32" inch (about as big as they affordable get) displays I decided that it didnt cost that much more to buy one new. That way I could get exactly what I wanted whereas I was constantly compromising on Gumtree.
So the one I picked up in the end was an Acer 31.5" Monitor ER320HQ from Office Works:
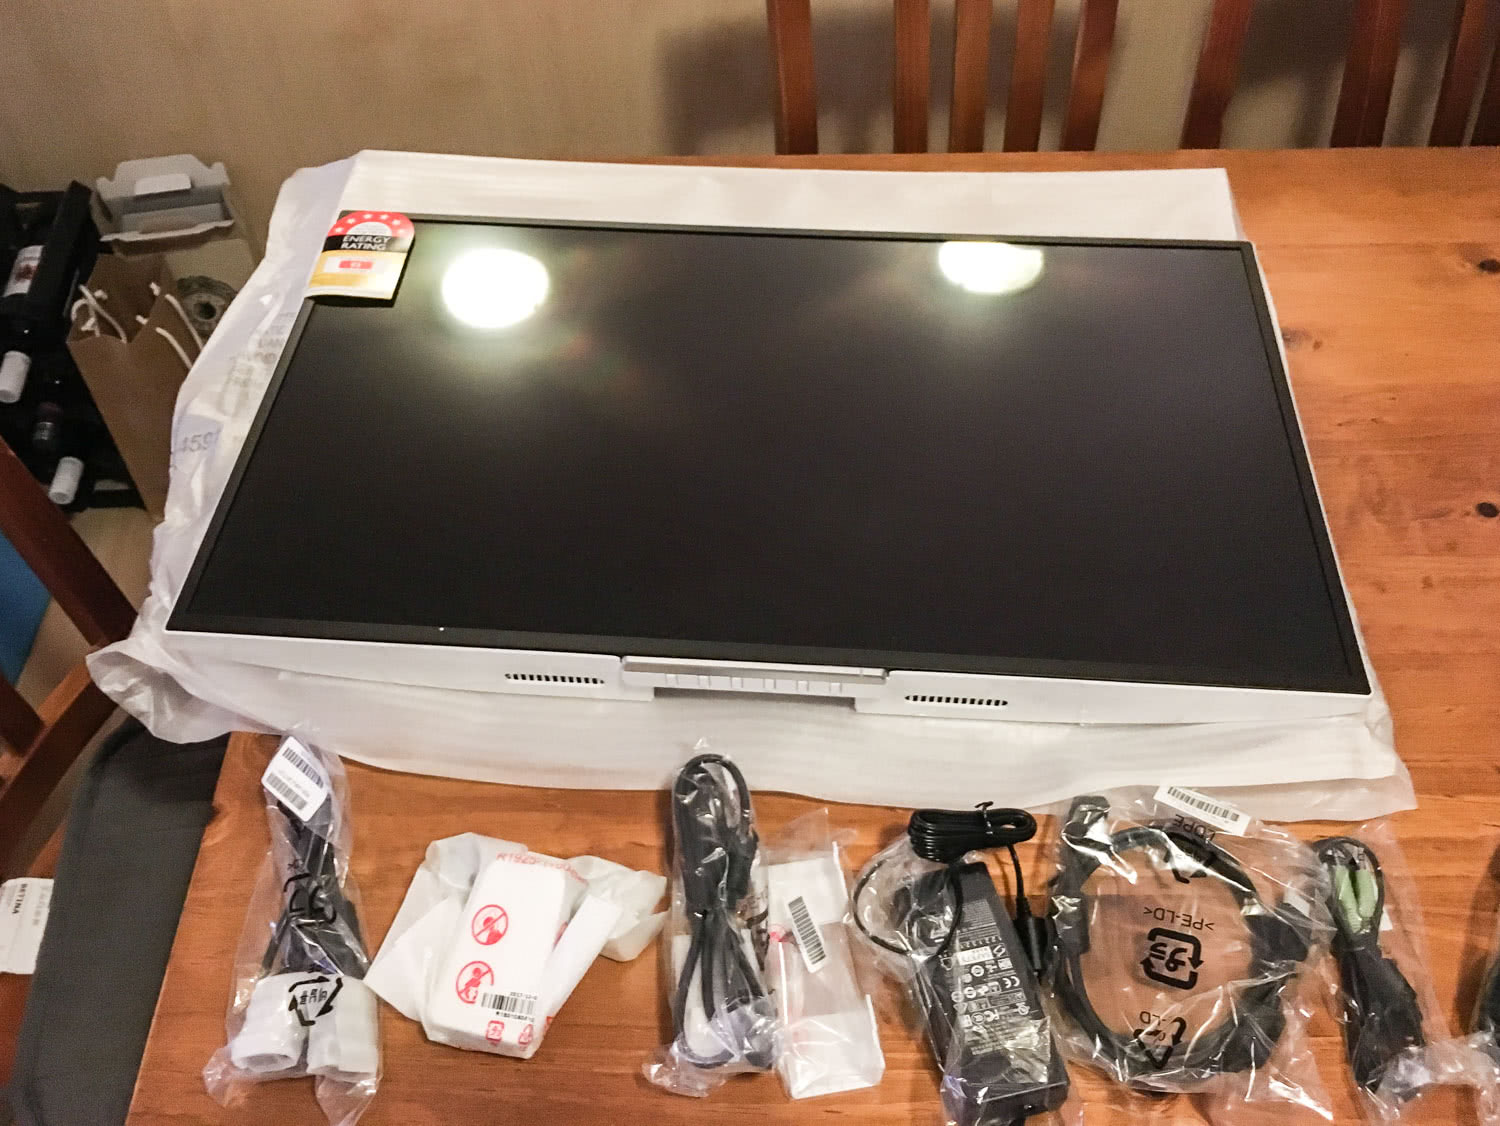
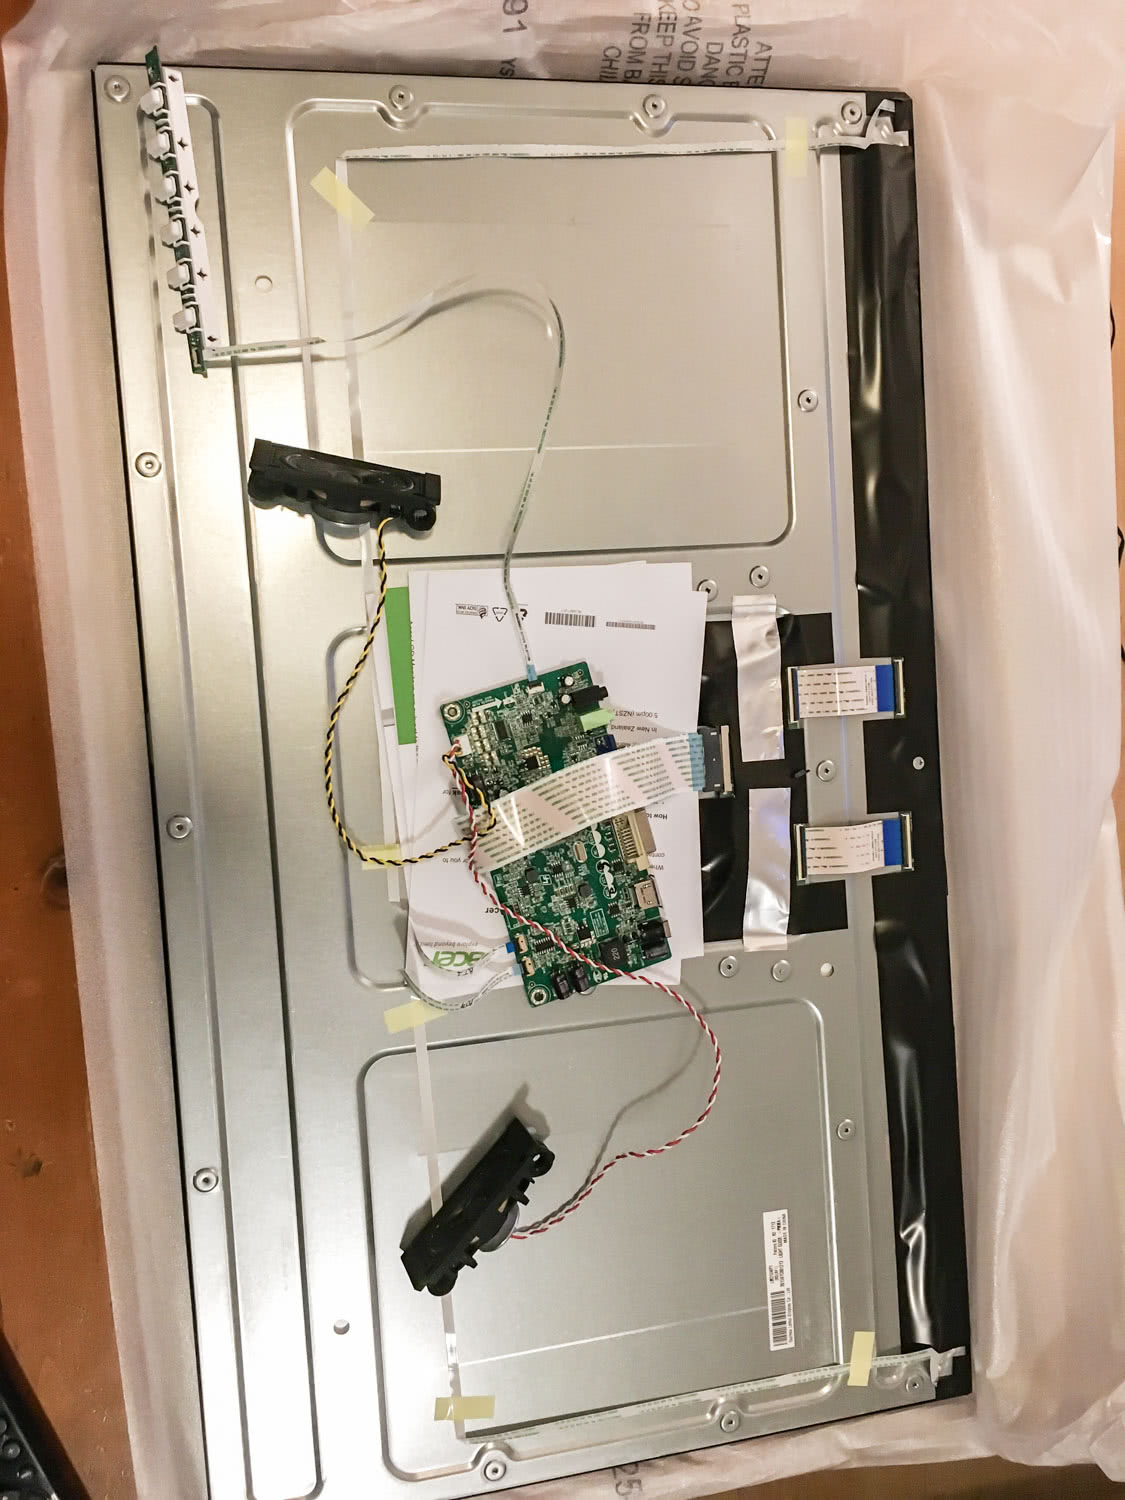
Its got everything I need, a bright 100,000,000:1 contrast display with Full HD (1920 x 1080) resolution and critically only weighed 4kg once I had taken it apart.
The Glass
Another of the key components of a Smart Mirror is the two-way glass.
It functions in much the same way a pair of mirrored sunglasses work. Its reflects all light from one direction but allows light from the other direction to pass through.
This means that when a pixel in the display is white then it will shine through and be visible, otherwise you eye will just assume there is nothing there and see the reflection instead.
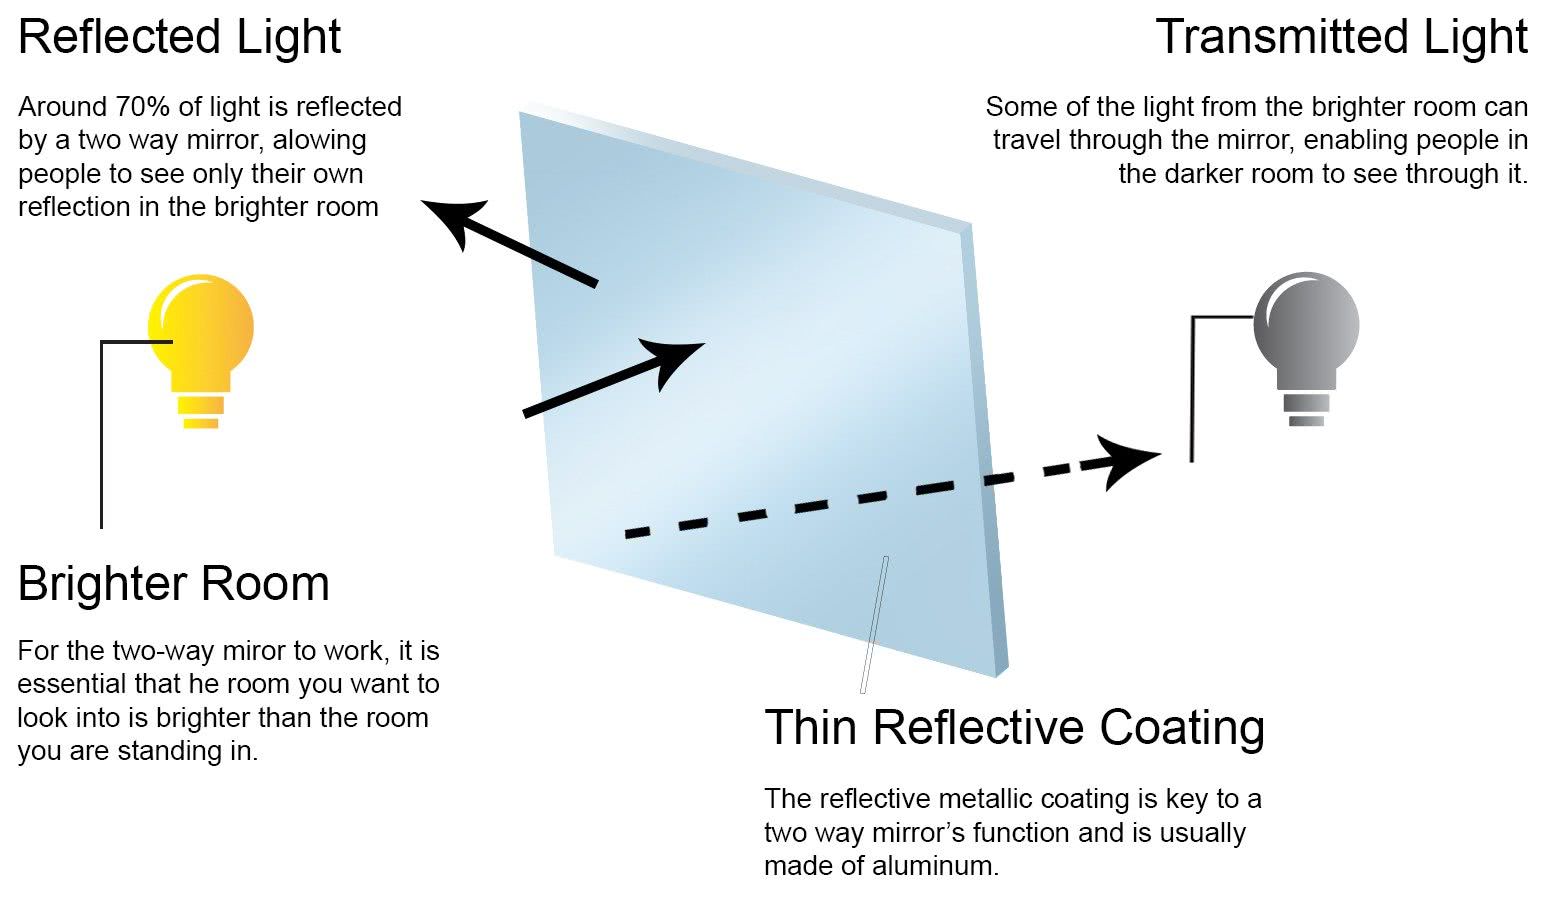 (source twowaymirrors.com)
Just like the display I had a lot of different potential options for the glass.
- A pre-cut two way mirrored glass
- A two-way laminate plastic which you can stick onto a regular piece of cit glass.
- An acrylic two-way layer.
I decided against number 3) because I had seen examples of it where it had warped a little bit which detracted from the effect somewhat. I thought about 2) but in the end I decided it would probably be safer just to get it pre-made and thus save me the potential of making a mistake applying the laminate.
So option 1) it was. I ended up phoning around a whole bunch of glass suppliers and recording their prices and availability on Trello:
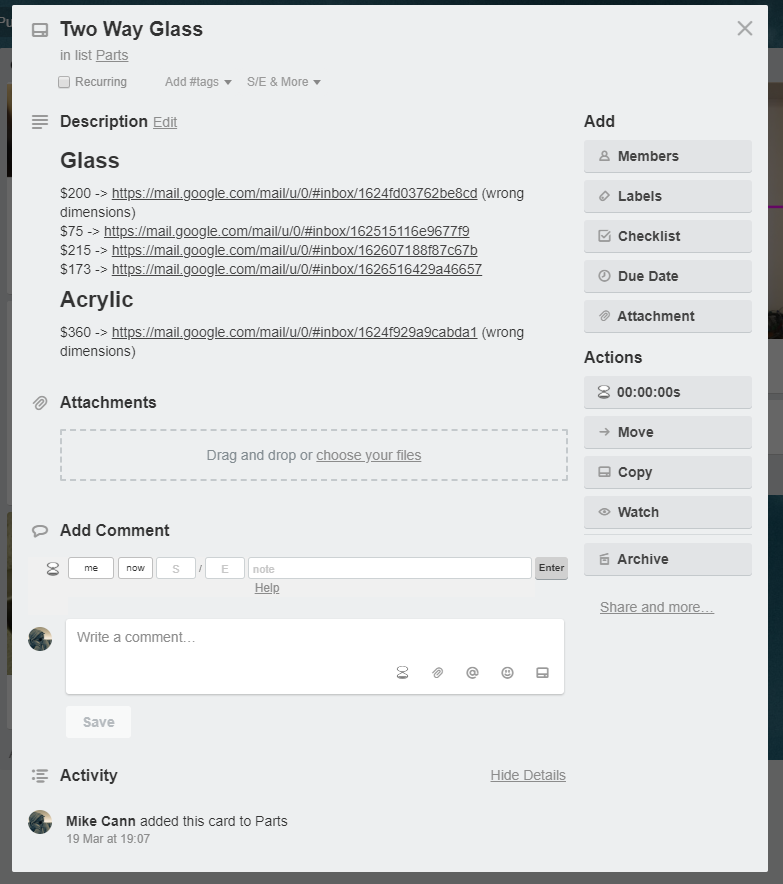
In the end I chose the cheapest supplier... I should have known that something was up when they quoted me half the price of all the others...
About a week later I got a call saying that the glass was ready for me to come pick up, so I excitedly hopped in the car and drove the 30 minutes to pick it up. It was wrapped up so I didnt get to check it out until I got home:
At first I was impressed, then I turned it over and realised that it was mirrored on BOTH SIDES. Doh! I gave them a call and explained to them that when I asked for a "two way mirrored glass" I didnt mean it was mirrored on both sides... They tried to argue with me for a while, I even quoted the definition of "two way mirror" to them:
A one-way mirror, also called two-way mirror[1] (or two-way glass) and semi-transparent mirror, is a reciprocal mirror that is partially reflective and partially transparent. The perception of one-way transmission is achieved when one side of the mirror is brightly lit and the other side is dark. This allows viewing from the darkened side but not vice versa. (source wikipedia)
In the end they relented and decided to give me a refund. Sigh.
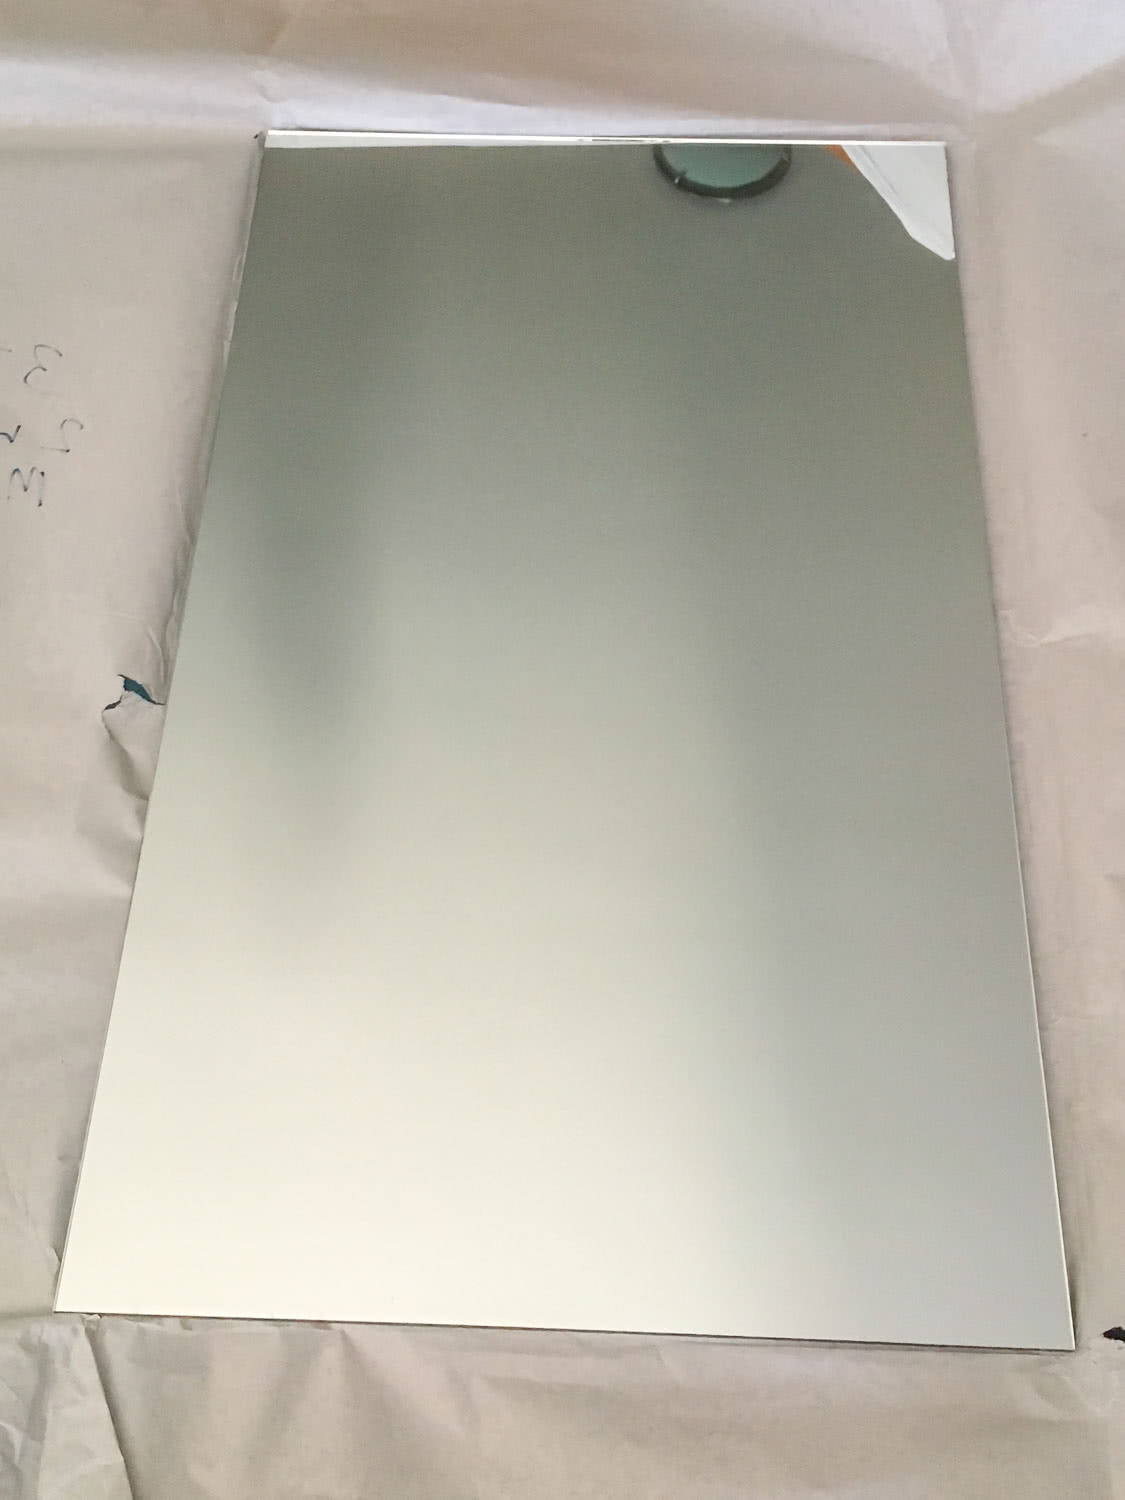
So now I was onto the next cheapest supplier. I placed an order and a week later I went to collect it. I got it home and unpacked it to discover it looked great:

Except for that engraved logo at the bottom of the mirror.. FFS! I cant have that on a mirror that is supposed to have a display shining through!
I called them up and they explained that it was common practice for them to engrave on all their "safety glass". Well as I wasnt aware of that fact and it wasnt mentioned to me on their website so they agreed to cut me another piece and not engrave it this time.
So another week goes by and I finally pick up a piece of glass that is actually "two-way" and doesnt have an engraved logo on it, huzzah!
Building the Frame
Now I had the display and the glass I can finally start the part that was concerning me, the wooden frame.
I was concerned because I had very little experience with woodworking and had virtually no tools. So after watching a few more videos of people making wooden mirror frames I thought I had a basic idea of how I was going to put it together.
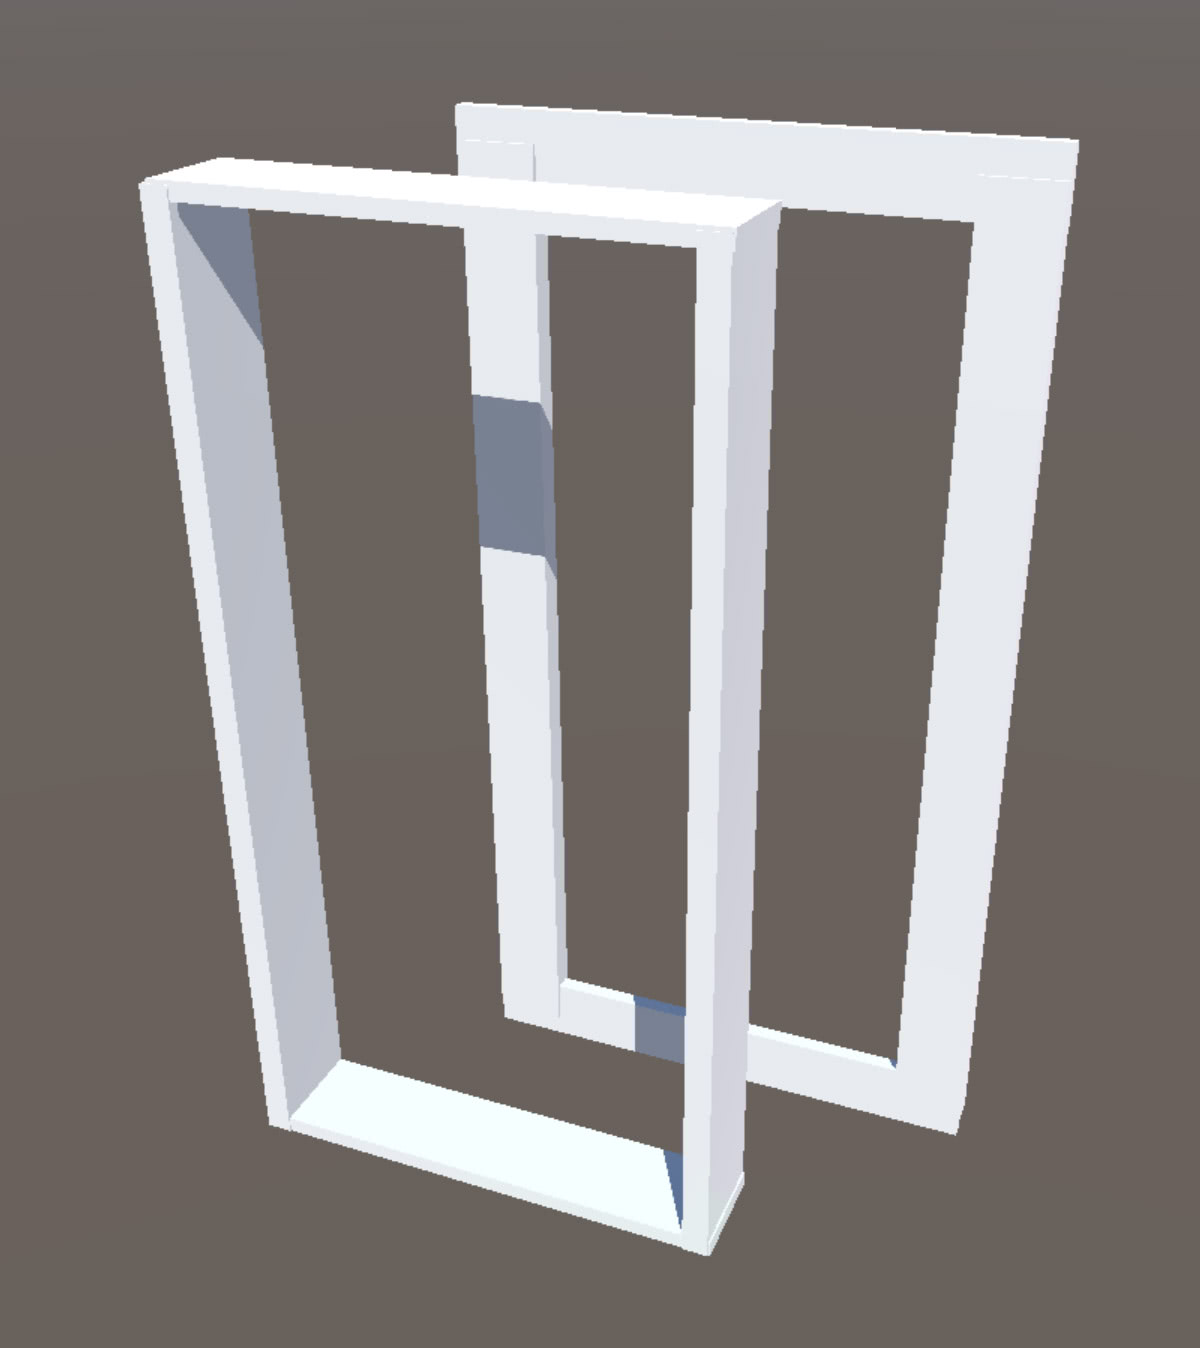 (yes I diagrammed it out in Unity)
It was basically going to be constructed in two parts which were then to be glued together. According to the videos I had watched, wood glue was apparently really strong and up to the task of keeping it all together.
So off to Bunnings I went and picked up bunch of tools and wood and got to work on the frame.
First I cut 4 bits of wood for the box part of the frame:
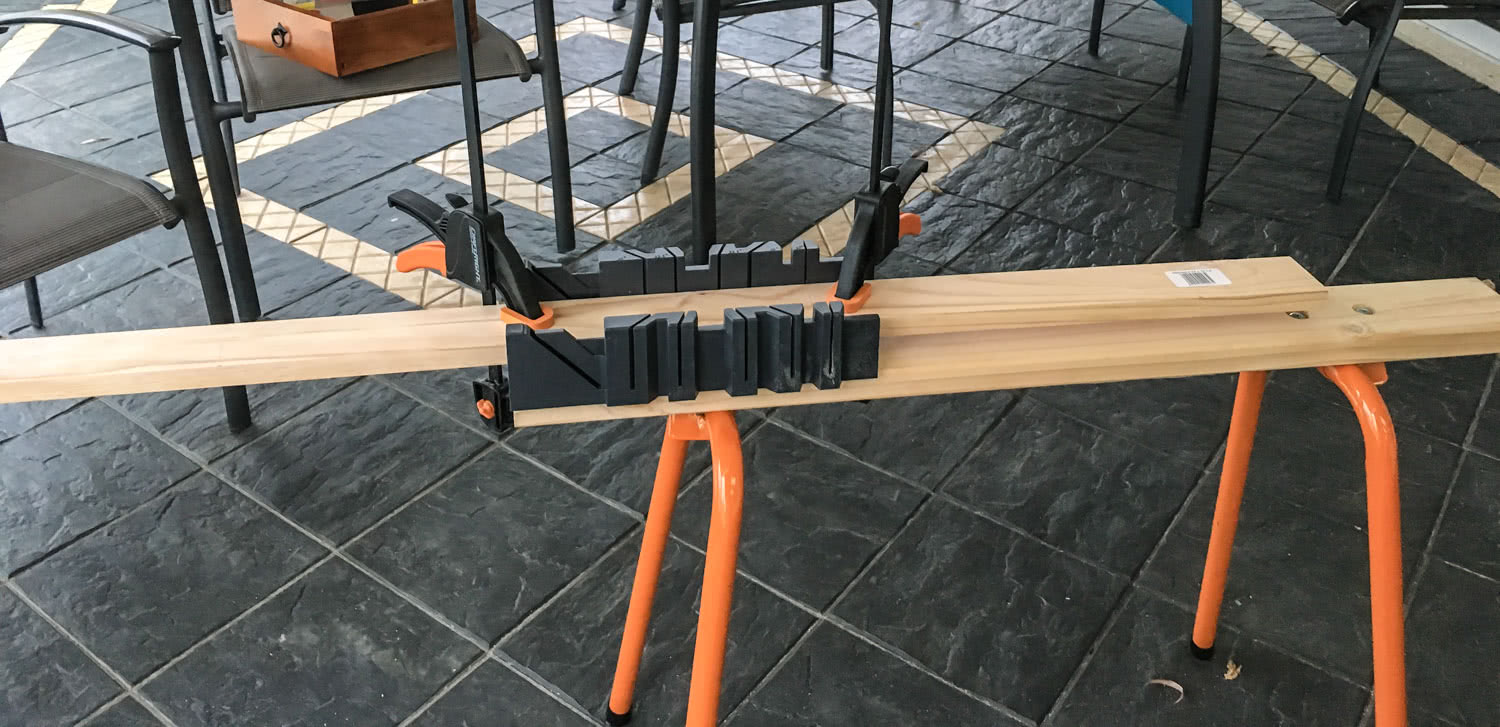
I joined them together with some nails and glue.
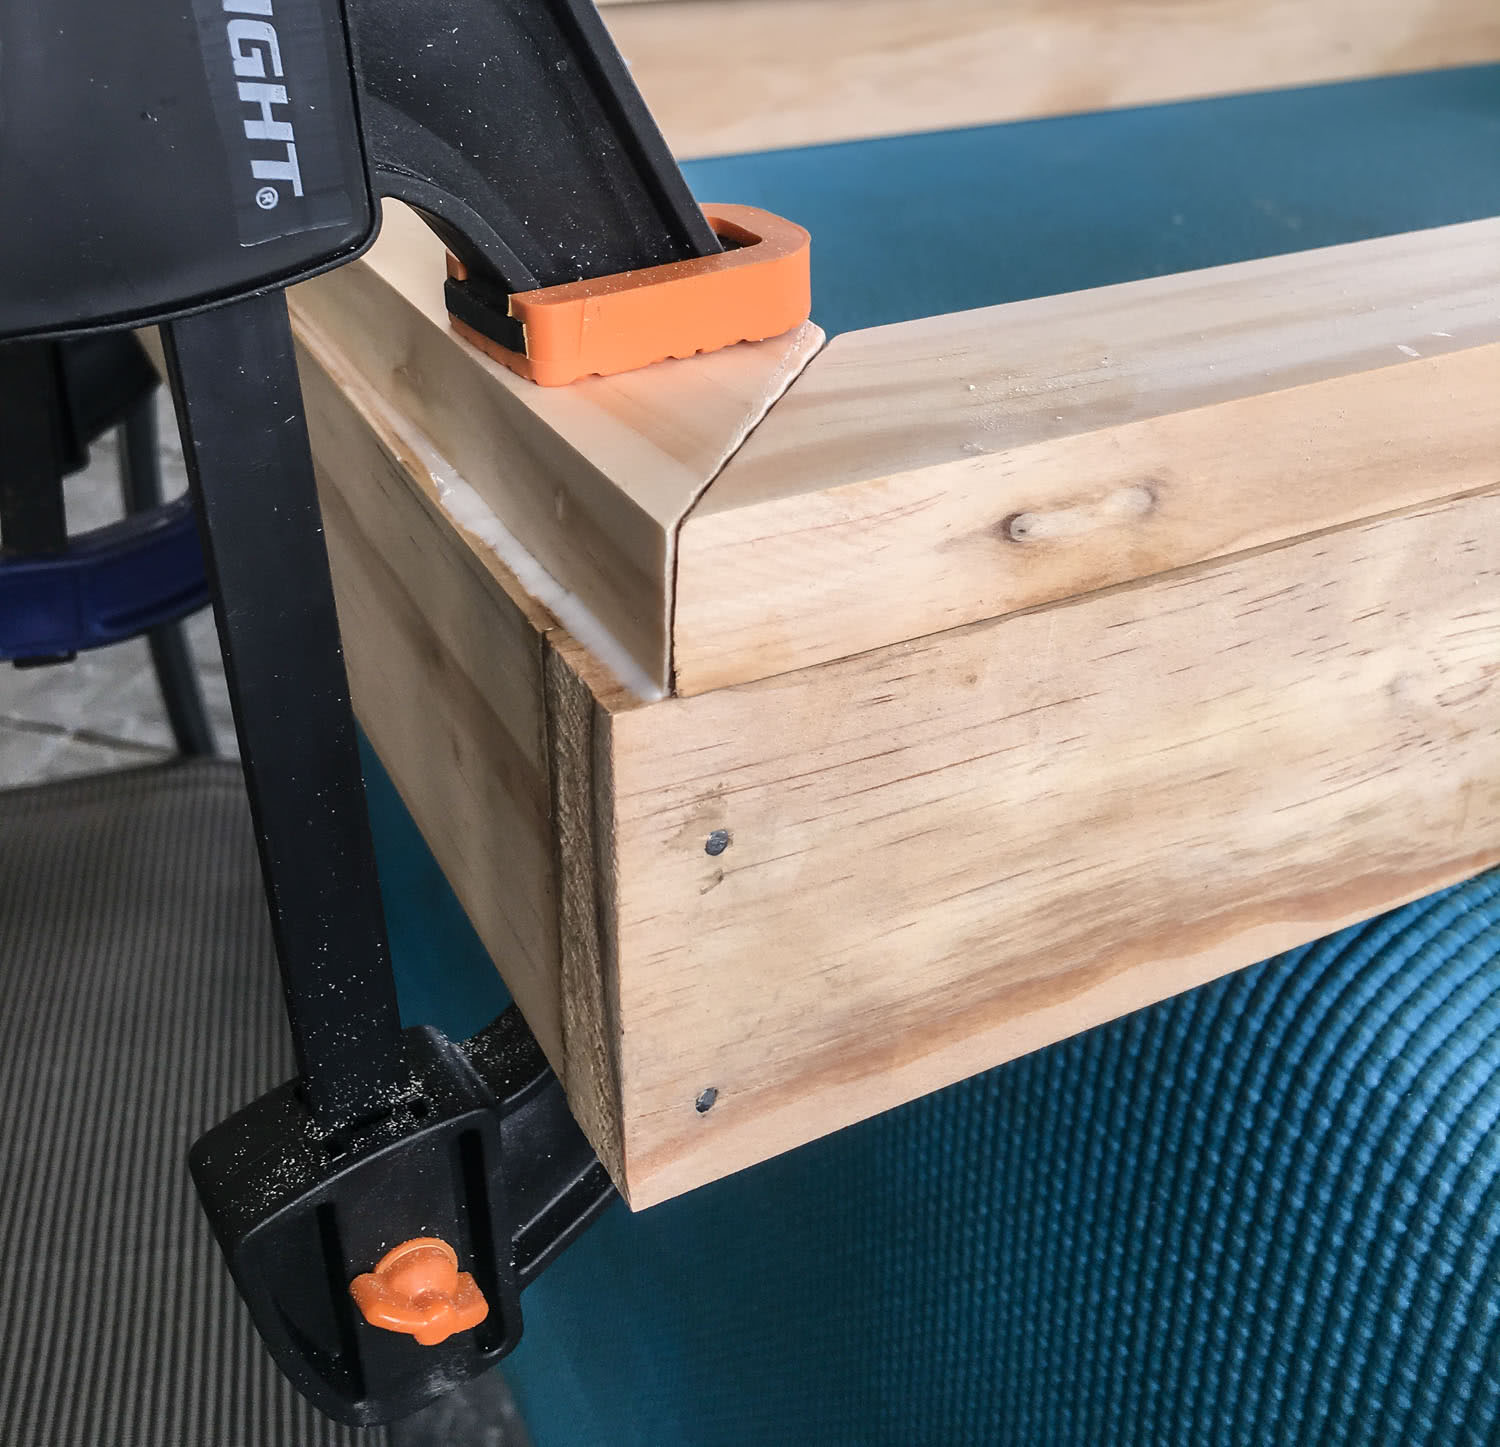
Then I cut some more pieces for the front part of the frame and started to glue them to the box:

Things were going well, at this point I was feeling like a bit of a Swanson.

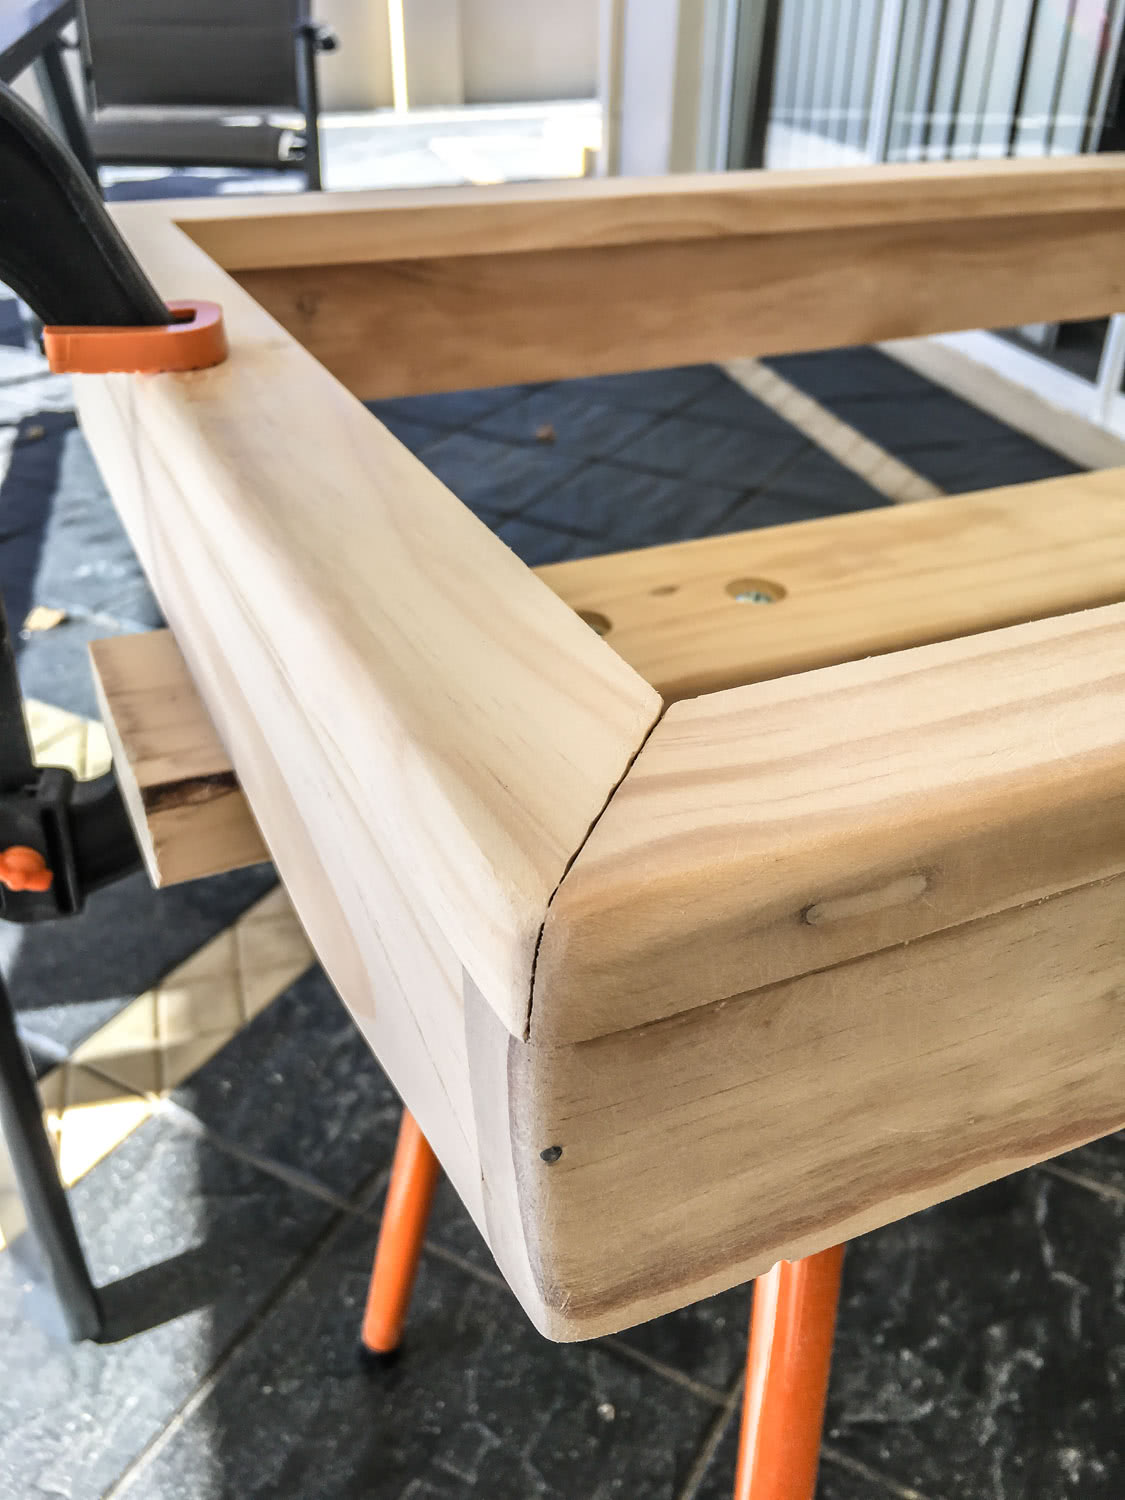
.. I knew things were going too well... I just noticed this:
That's quite an overlap. Unfortunately I didnt have any more spare wood so I decided that it was something that I could fix with sandpaper... lots of sandpaper:
Hey presto! Its fixed :) Its a little thinner on one side but you cant really notice it unless you are looking for it.
One other problem was my poor job at sawing the 45 degree angles for the front of the frame. This was definitely a problem as that was a part you were going to be looking at all the time so that gap really detracted from the quality of the frame.
It was at that point that Kelsie's dad introduced me to the wonders of wood putty:
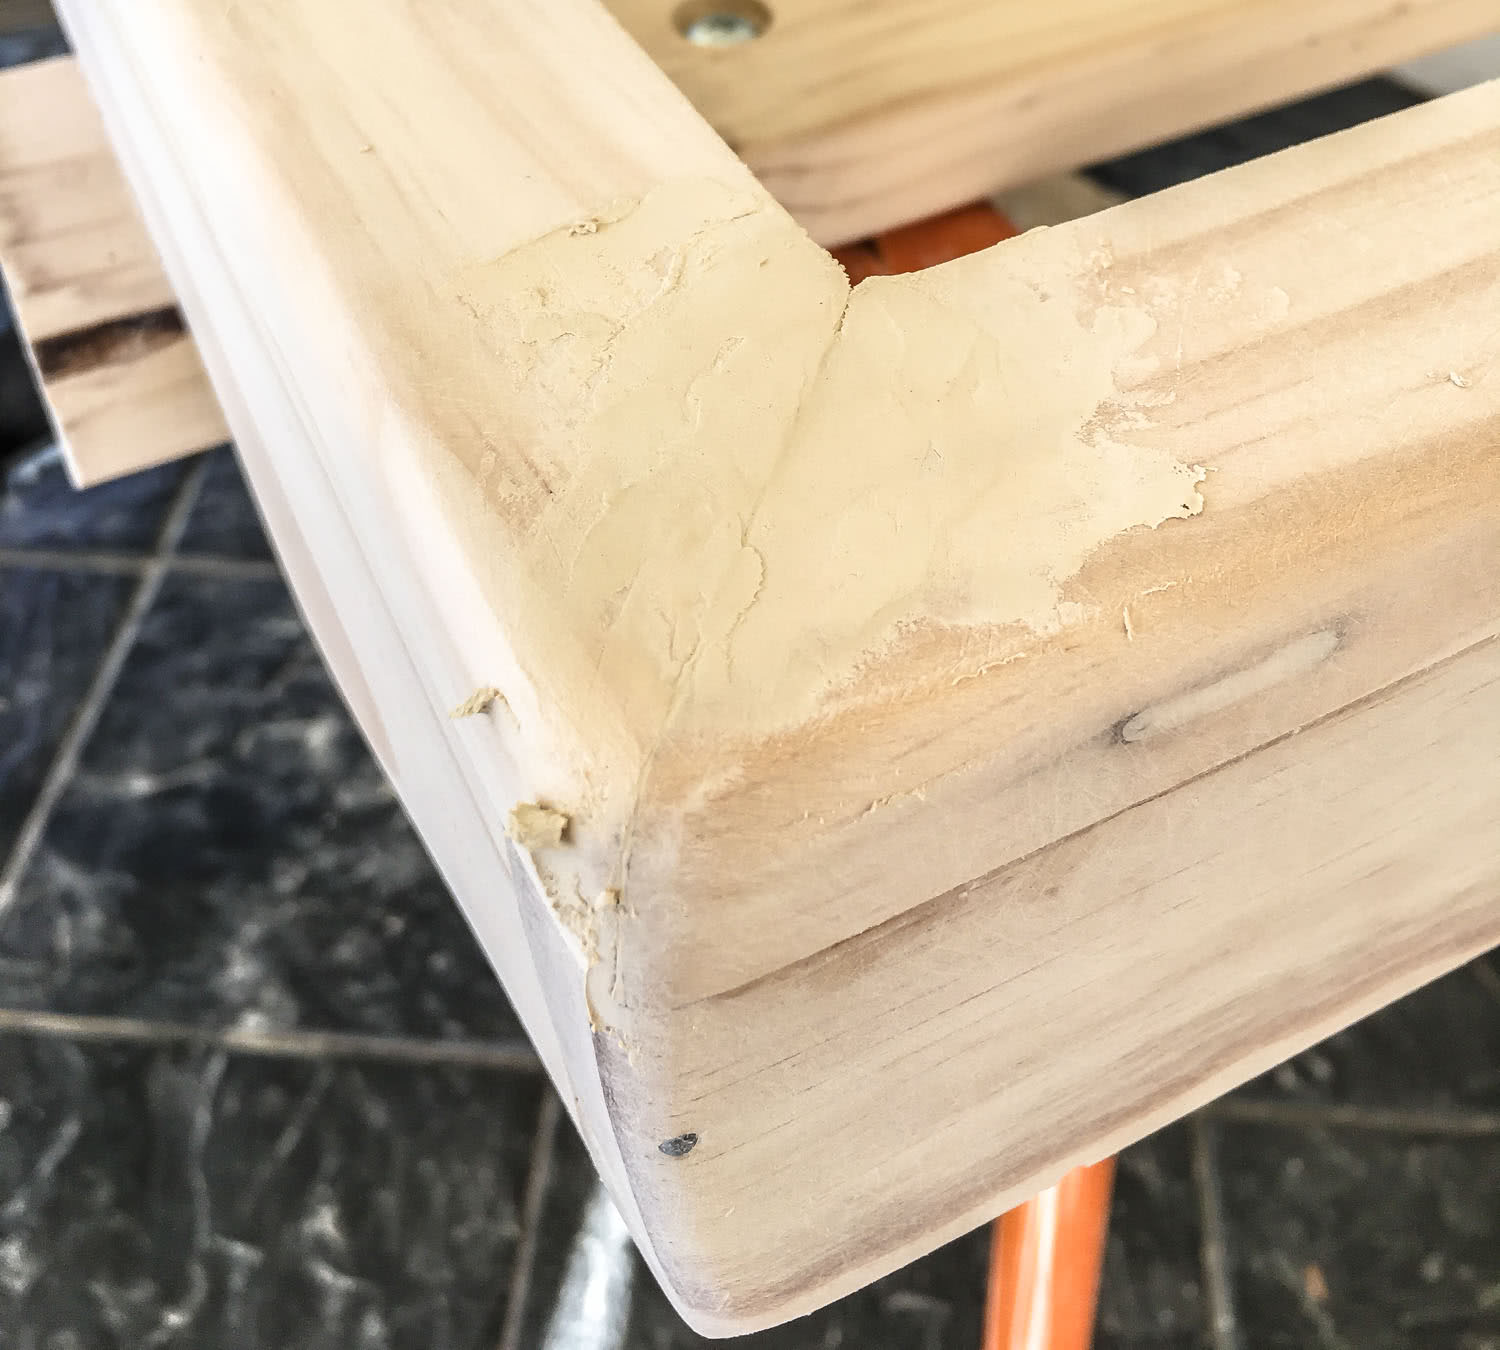
Huzzah! Problem sovled, just a little more sandpaper and you couldnt tell my rookie mistake was made.
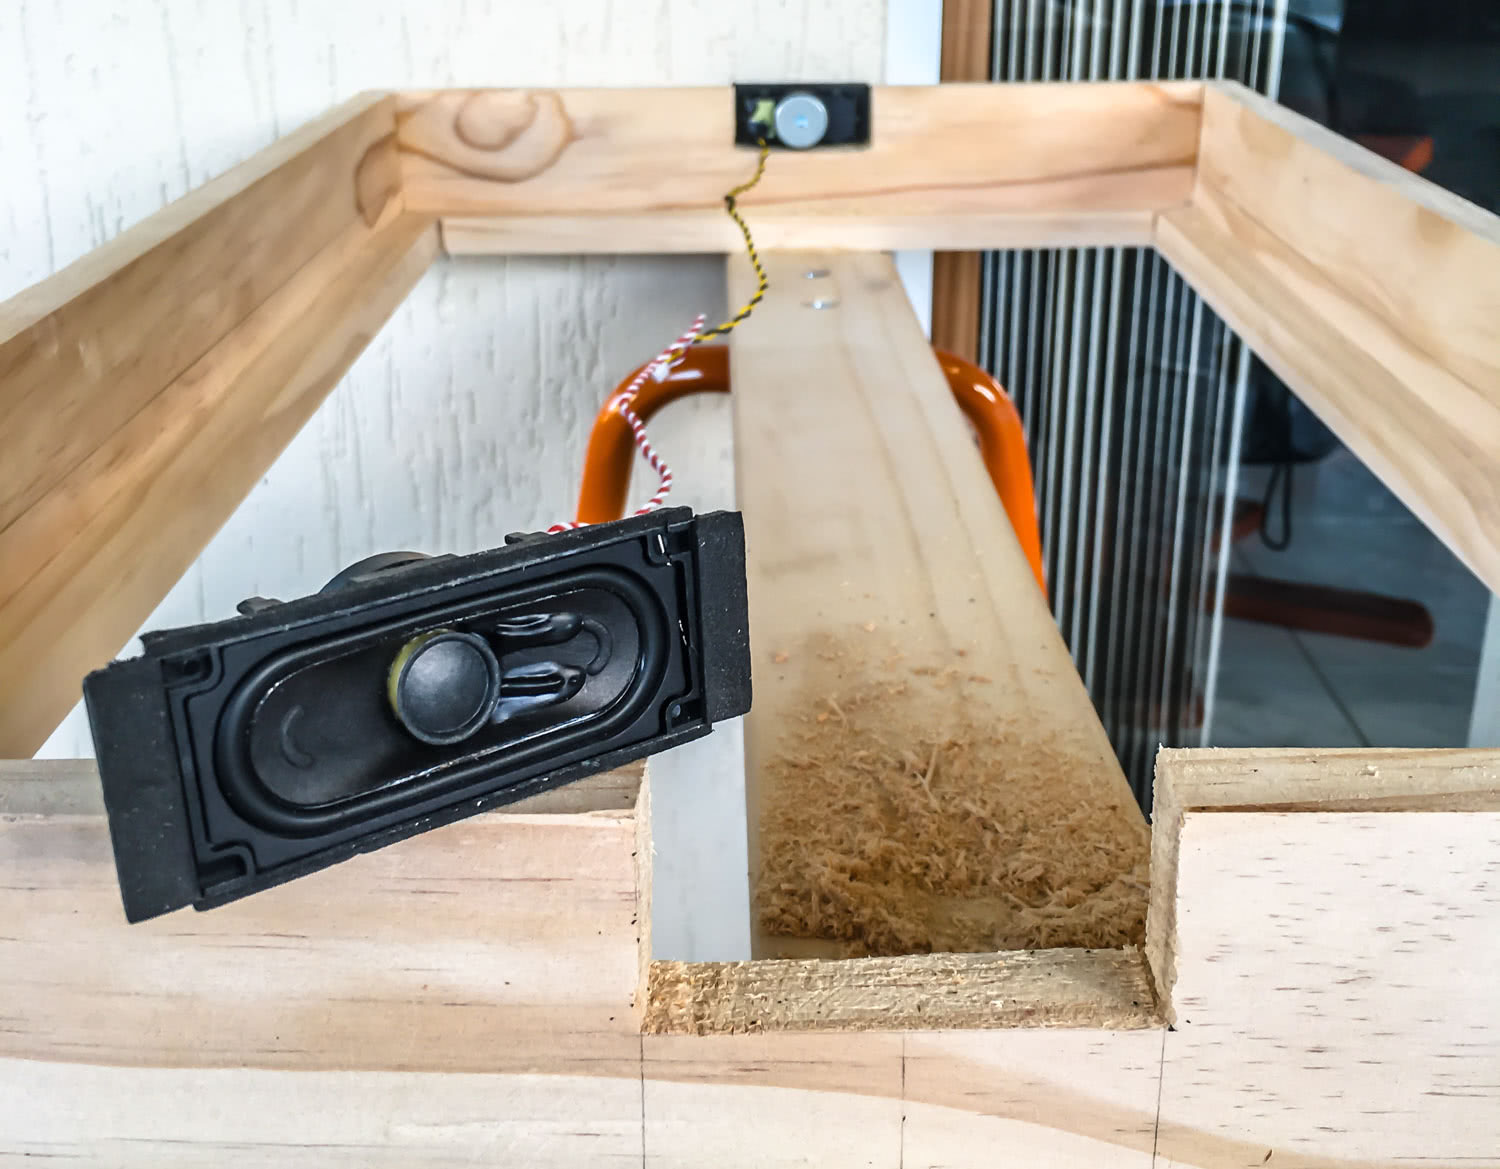
Next up I needed to cut out holes for the speakers for the frame.

To be honest, the speakers are on of the main reasons for the mirrors thickness. I think if I was to do it again I might rethink where I place the speakers so that I can try to make the mirror a little thinner.
So now the frame is done its on to staining it roughly the same colour as the rest of the furniture in the apartment.
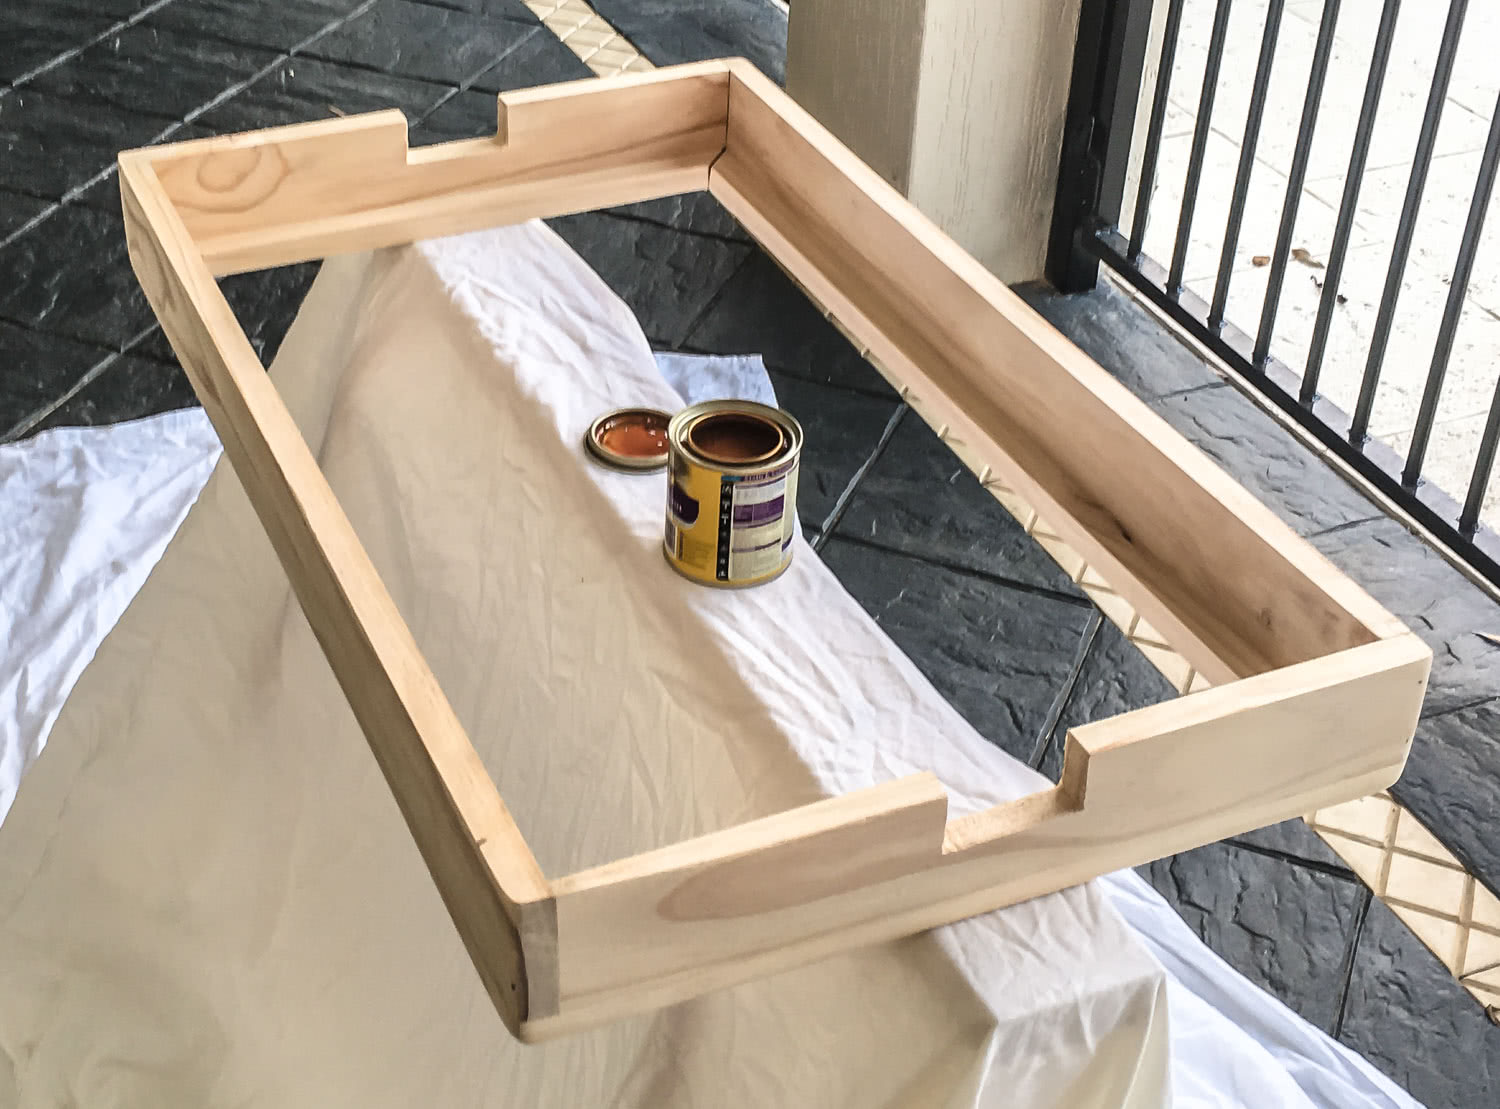
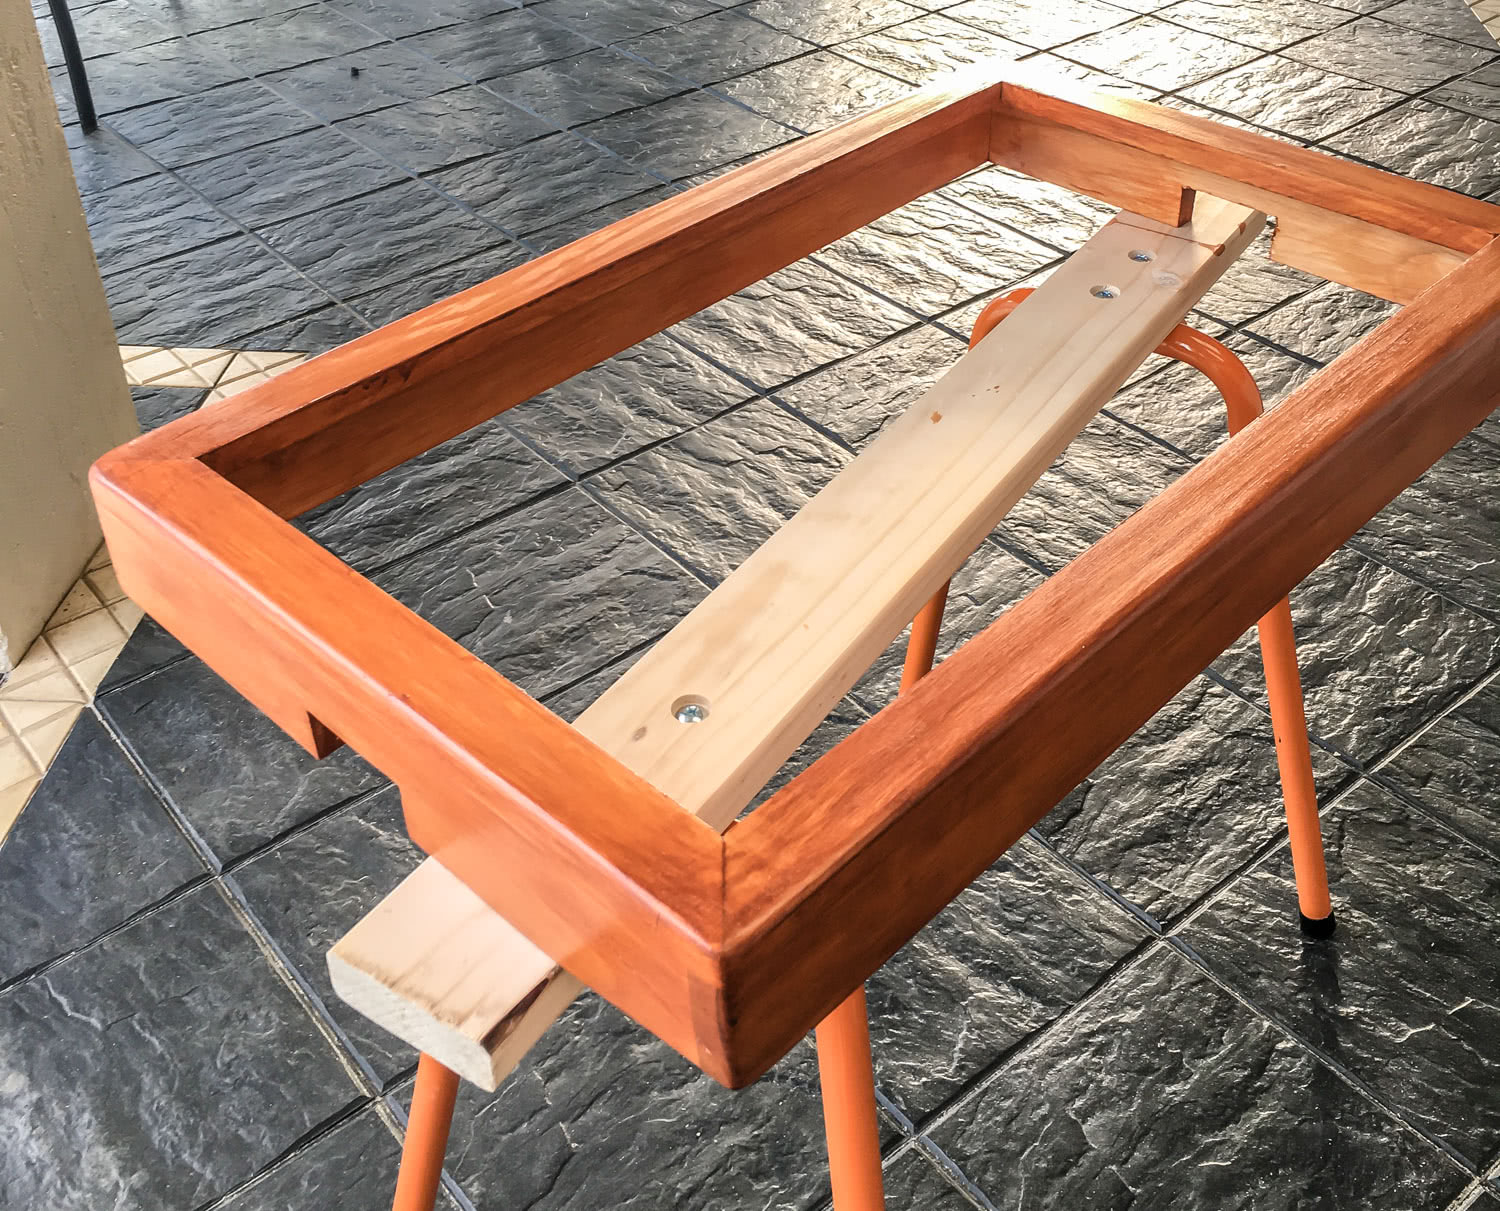
Hey its starting to look quite good, now I just have to worry about assembling it all and attaching it to the wall.
Assembly
Now I had all the parts I started to assemble them together.
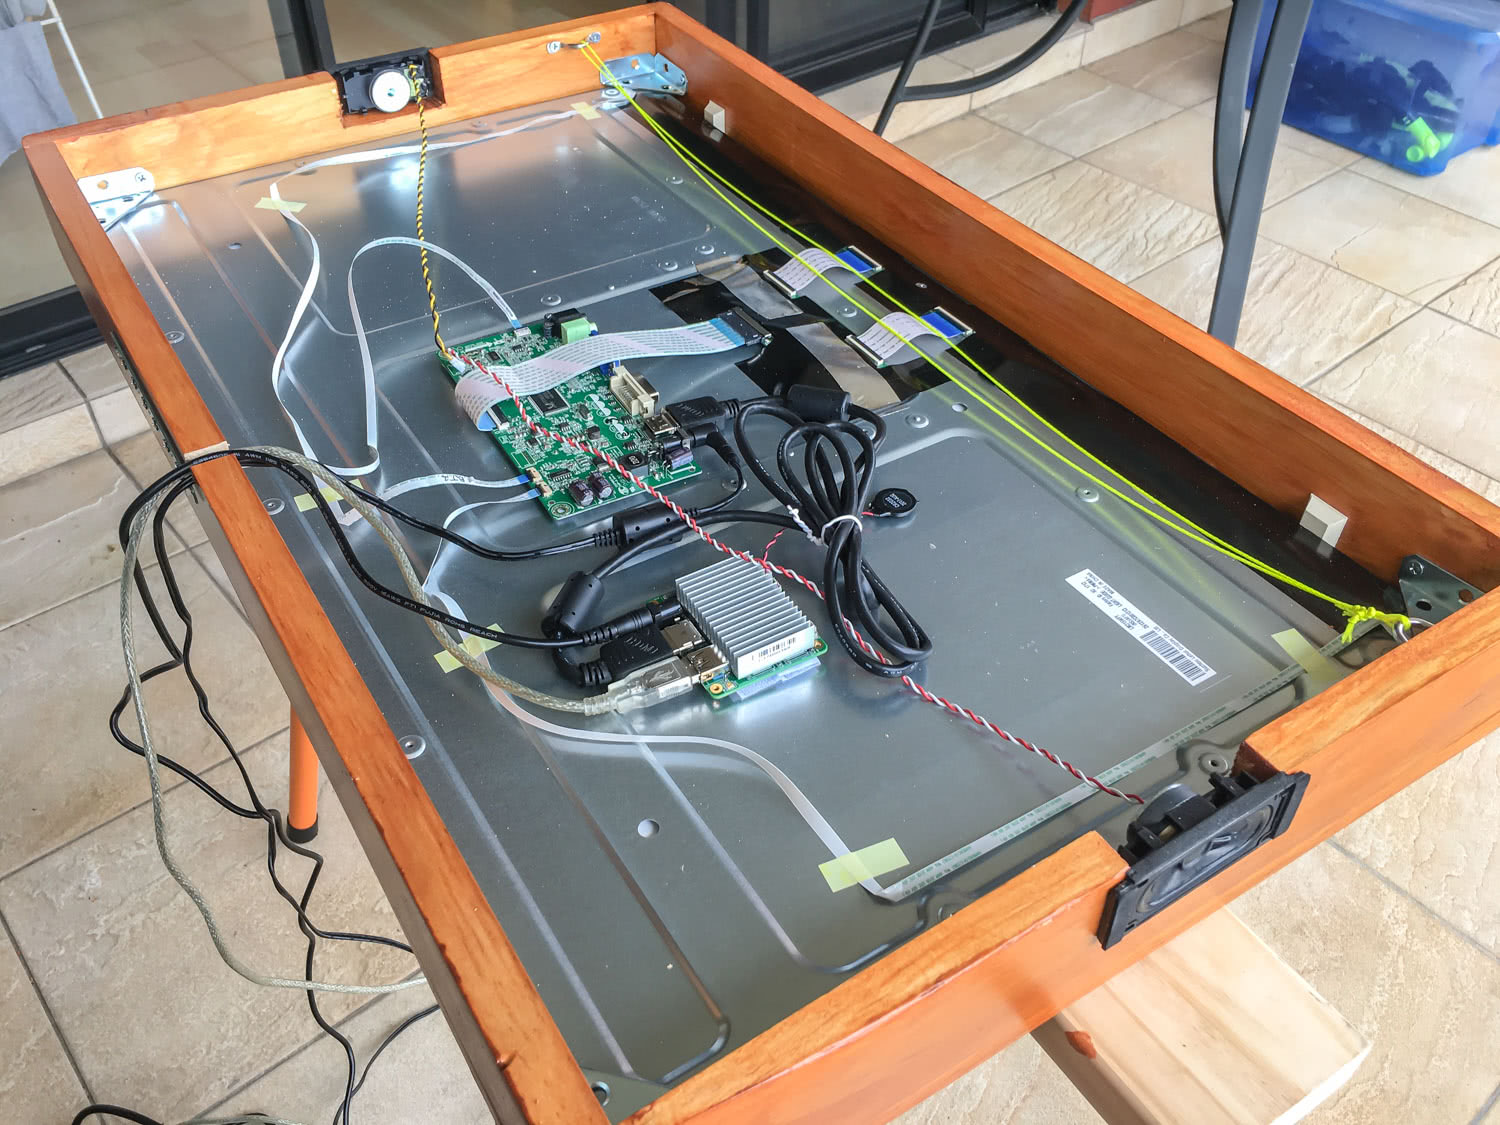
First I laid down the glass mirror side down, then placed the display ontop of it:
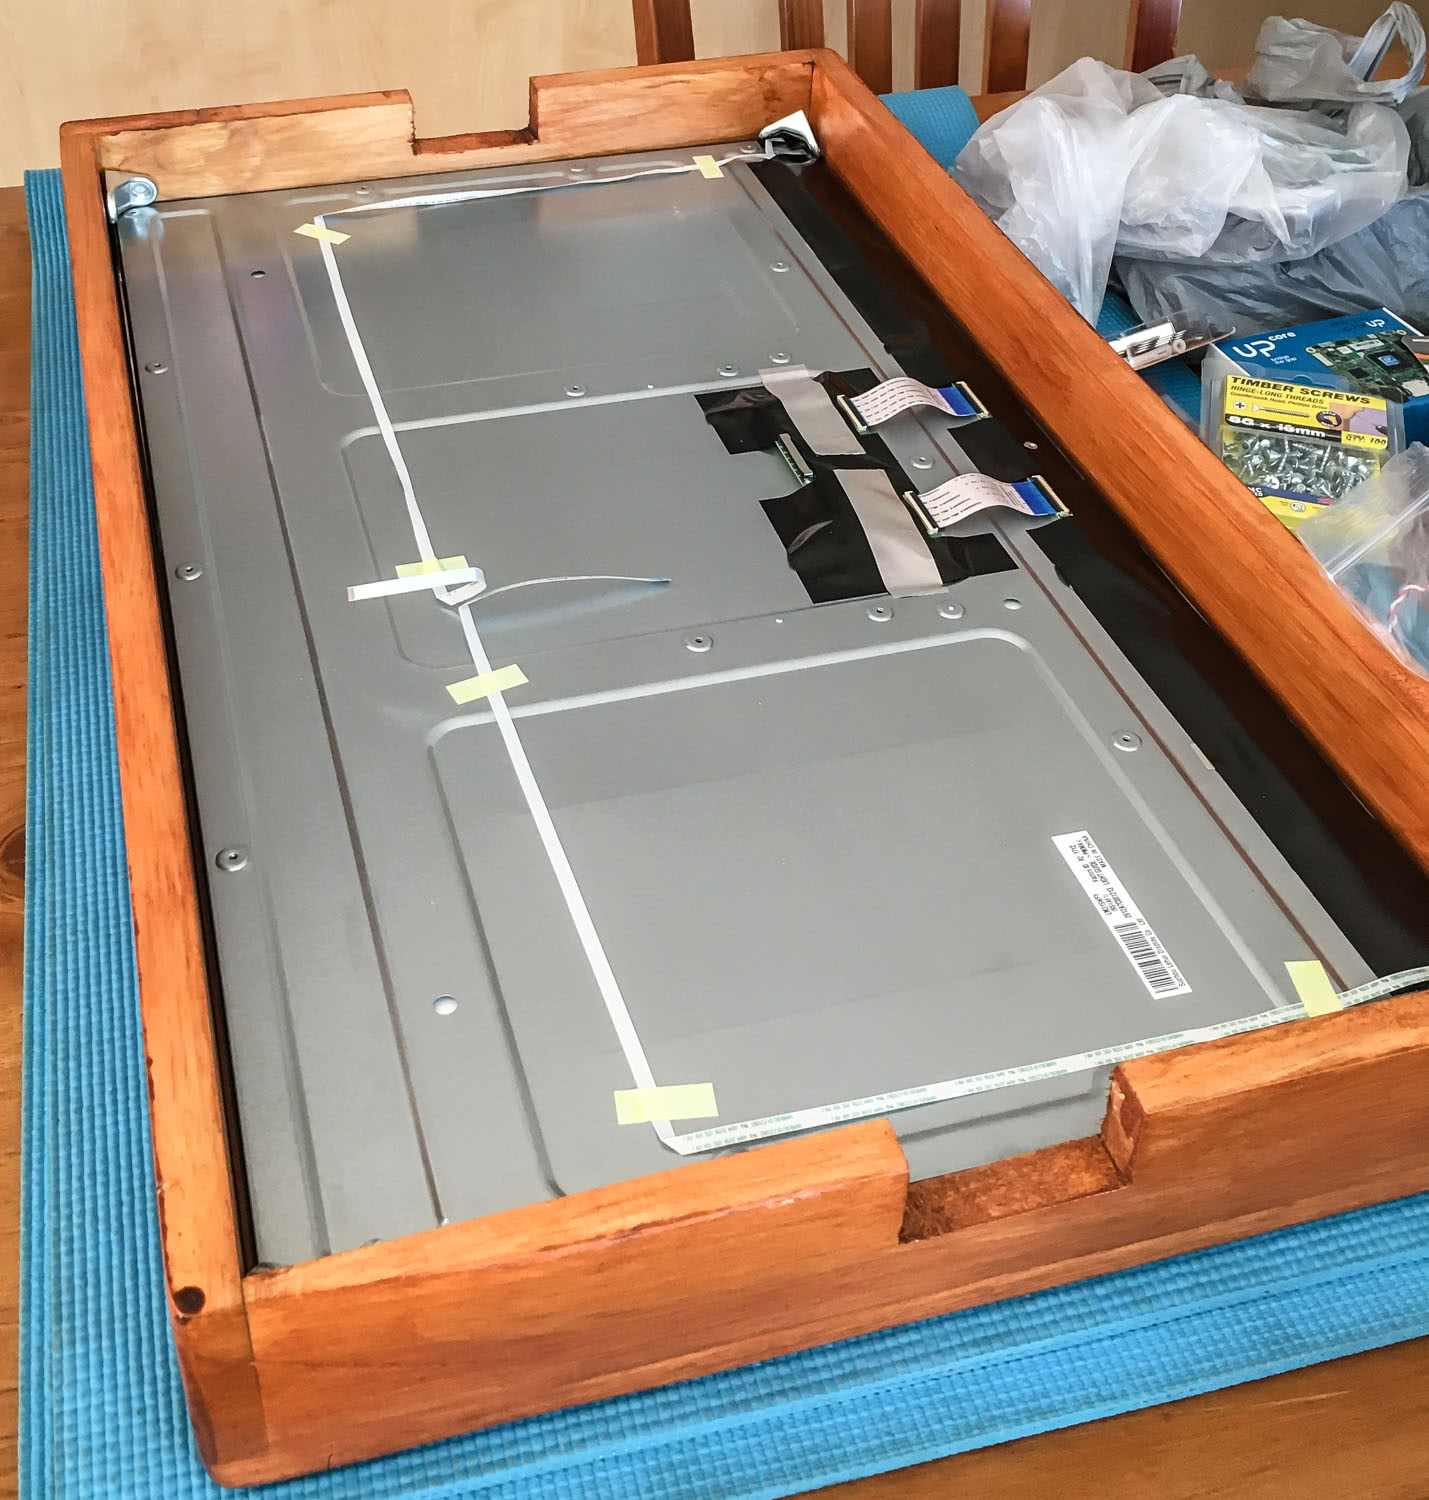
I then attached the speakers and the display control board using double sided padded tape. Then wired it all up.
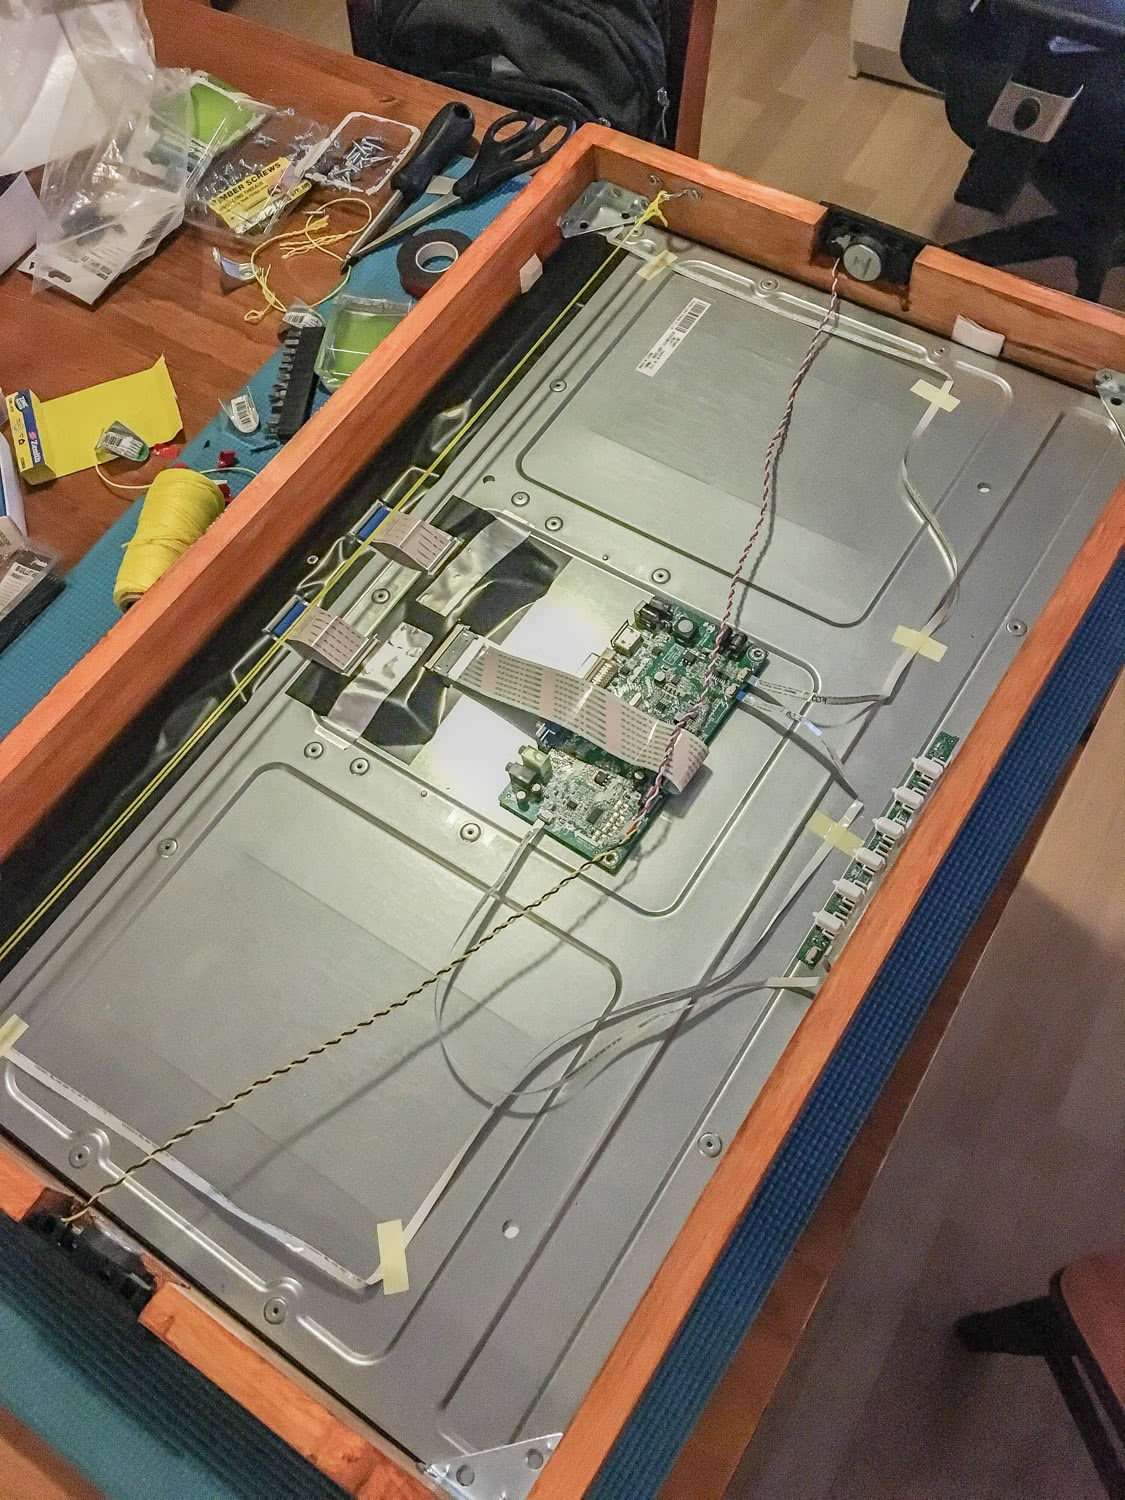
If you look closely in the above picture you can see that I use angled brackets to hold the display in place and stop it from moving around when I put it on the wall. These are screwed into the wood in a way which meant it would be tricky to remove.
I also screwed in two hooks which I then fastened a piece of yellow string between, this part was surprisingly tough to do. Because I used nylon string it kept stretching and going slack. I wish I knew more about knots, perhaps some sort of self-tightening knot would have done it?
I then grabbed a HDMI cable and attached the Up Core to it and powered it on..
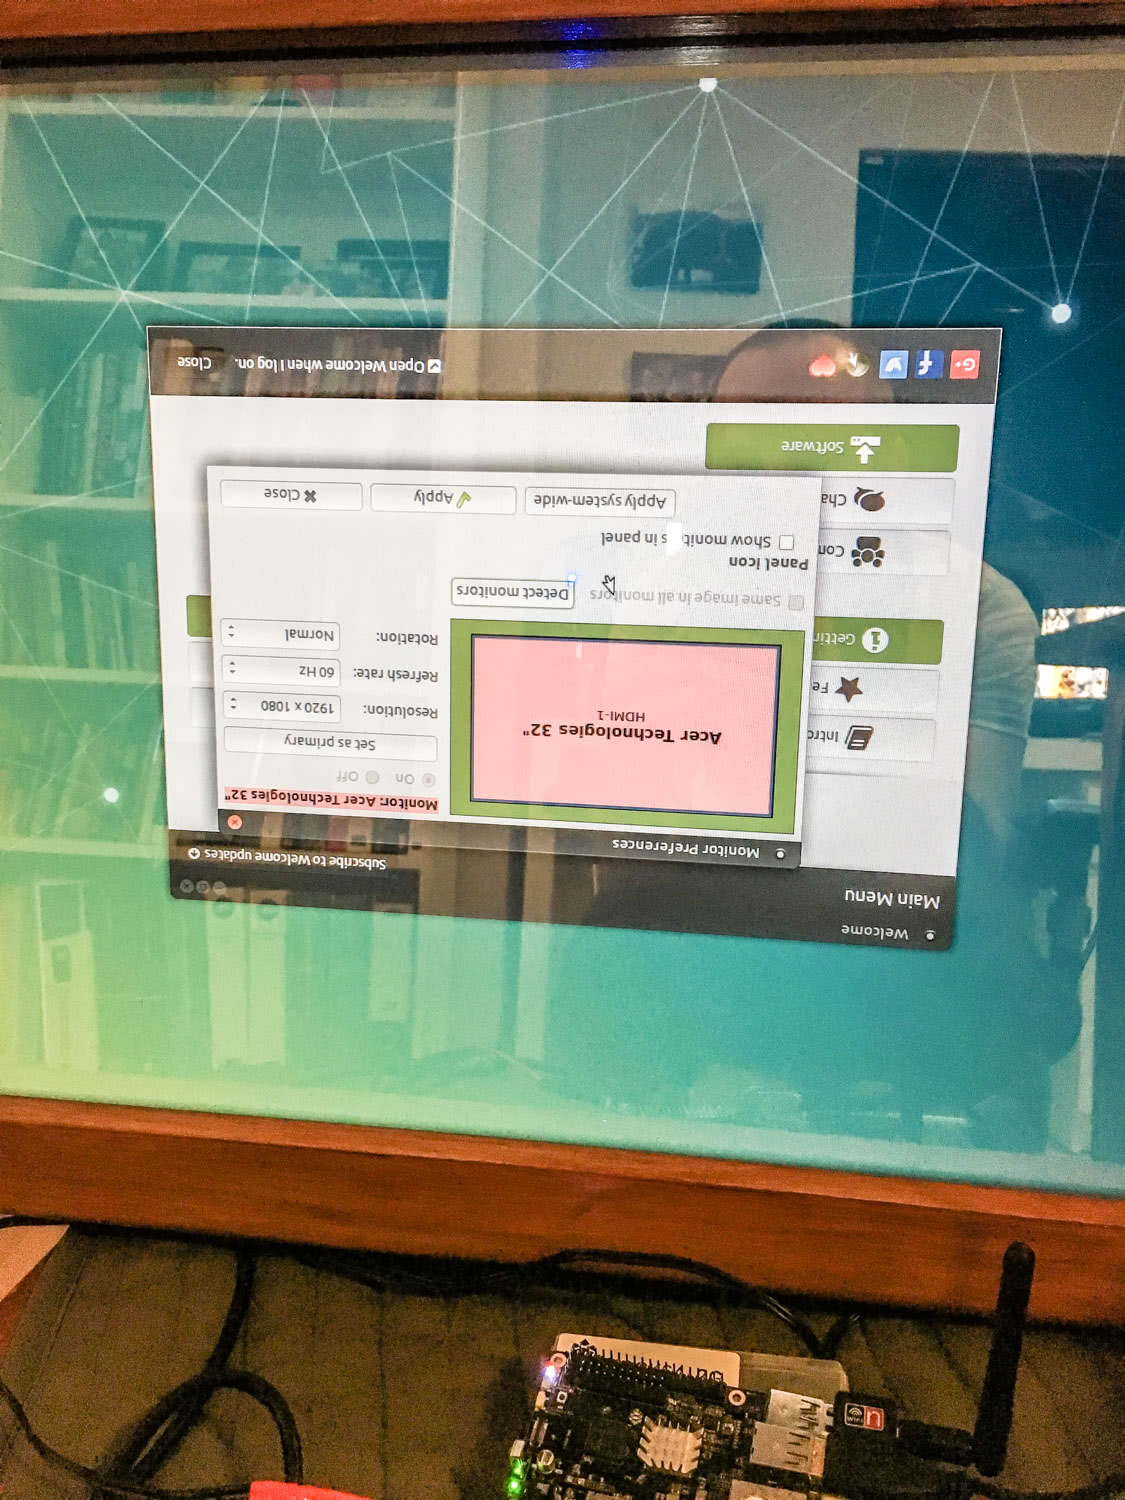
It works! But its upsidown.. Whoops! Now that I had screwed everything in, it wasnt really going to be feasible to unscrew it and turn it around. I didnt want to risk splitting the wood.
Fortunately I was able to change it in software so all is not lost, onwards!
Attaching to the Wall
Now this was the bit that had me the most worried in the entire project.
Because its a rental we werent allowed to put nails or screws in the wall so I had to do the whole thing with adhesive wall hooks.
I whipped out the scales. The whole thing weighed 10.5 kgs which meant I would need 4 of the strongest adhesive hooks I could find at Bunnings:

After a bit of help from Kelsie we finally managed to get it up on the wall and it held!
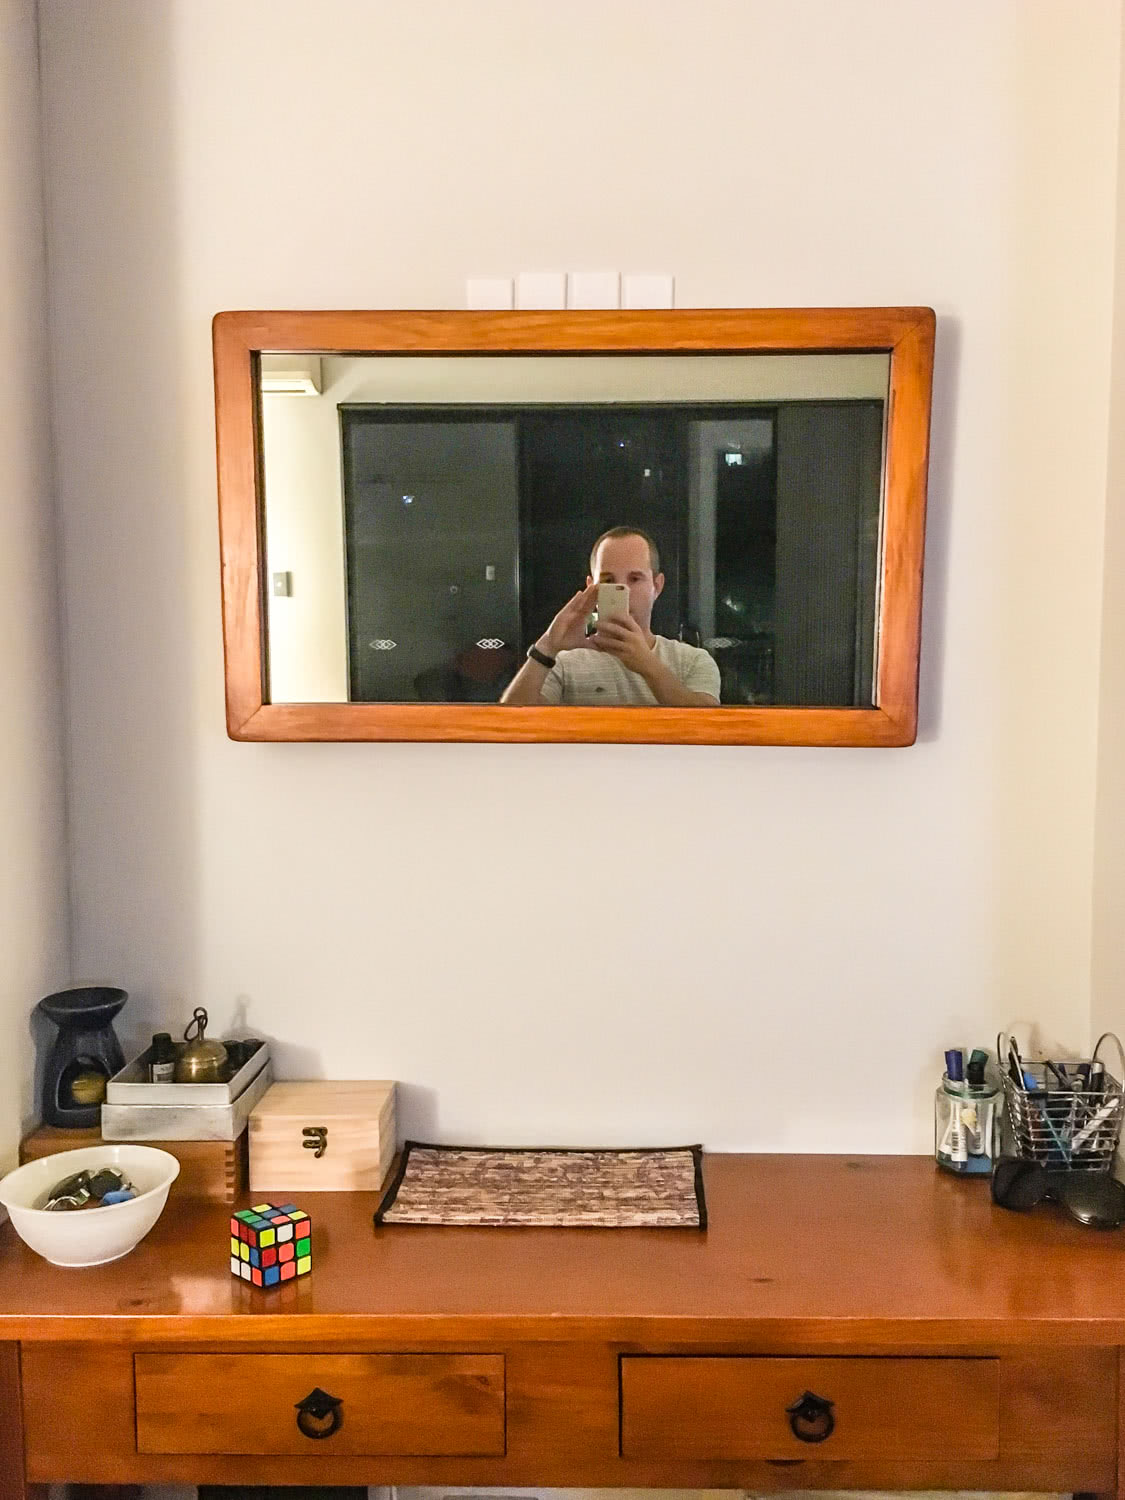
We decided it was probably a good idea to leave it there over night to make sure that it was going to hold before doing anything else.
Needless to say we werent sure it was going to work.
Final Touches
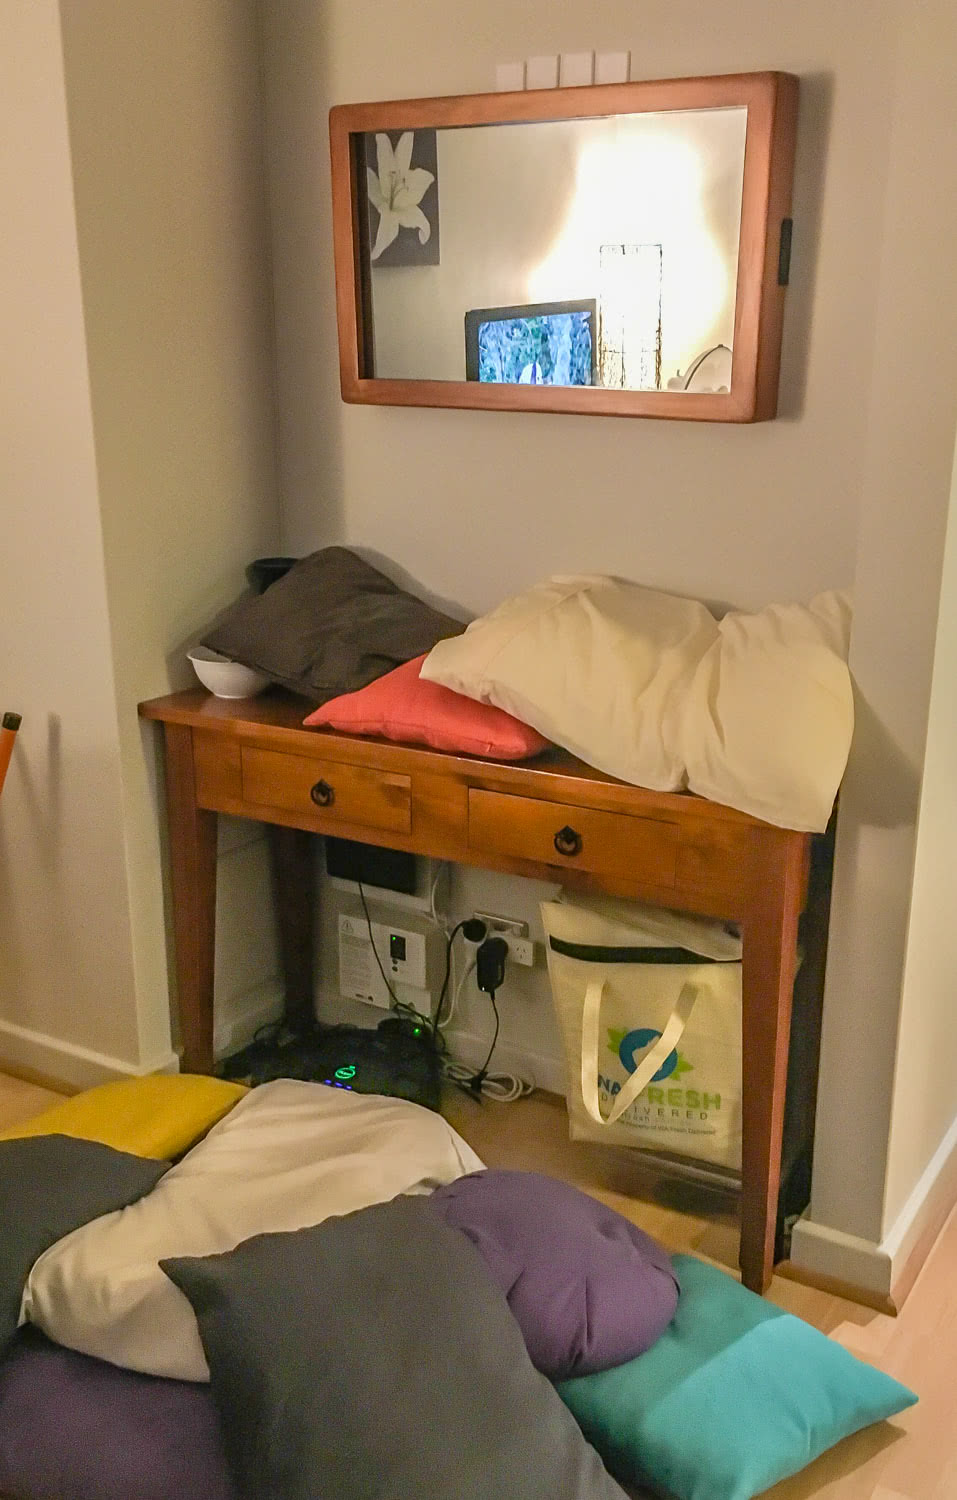
Phew! It survived the night and that means we are on the home stretch, just a couple more things.
I attached the Up Core board to the back using some more padded double sided tape to prevent shorts.
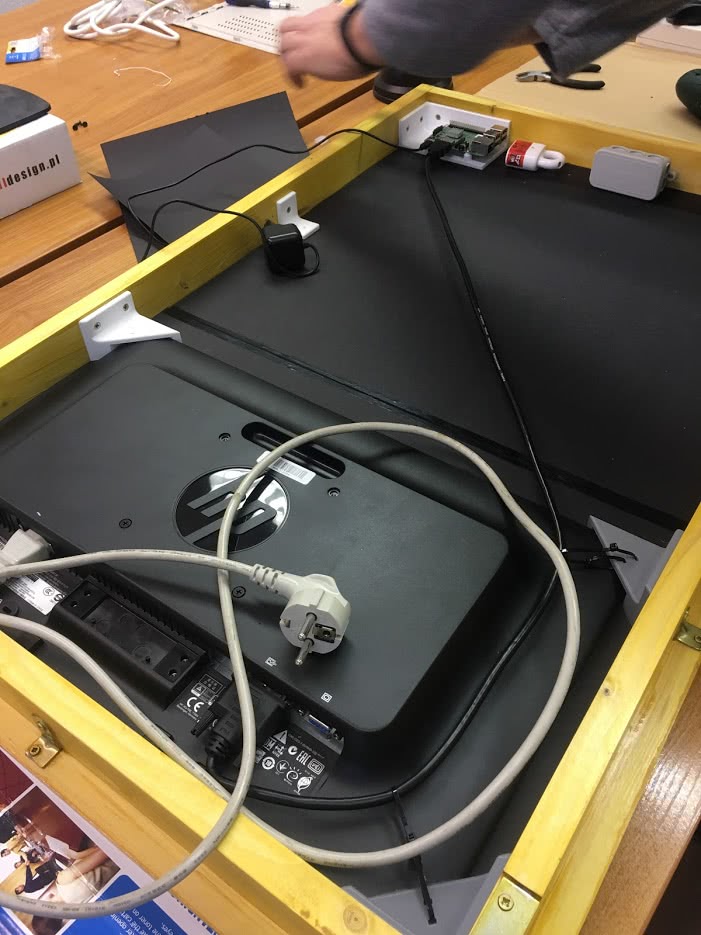
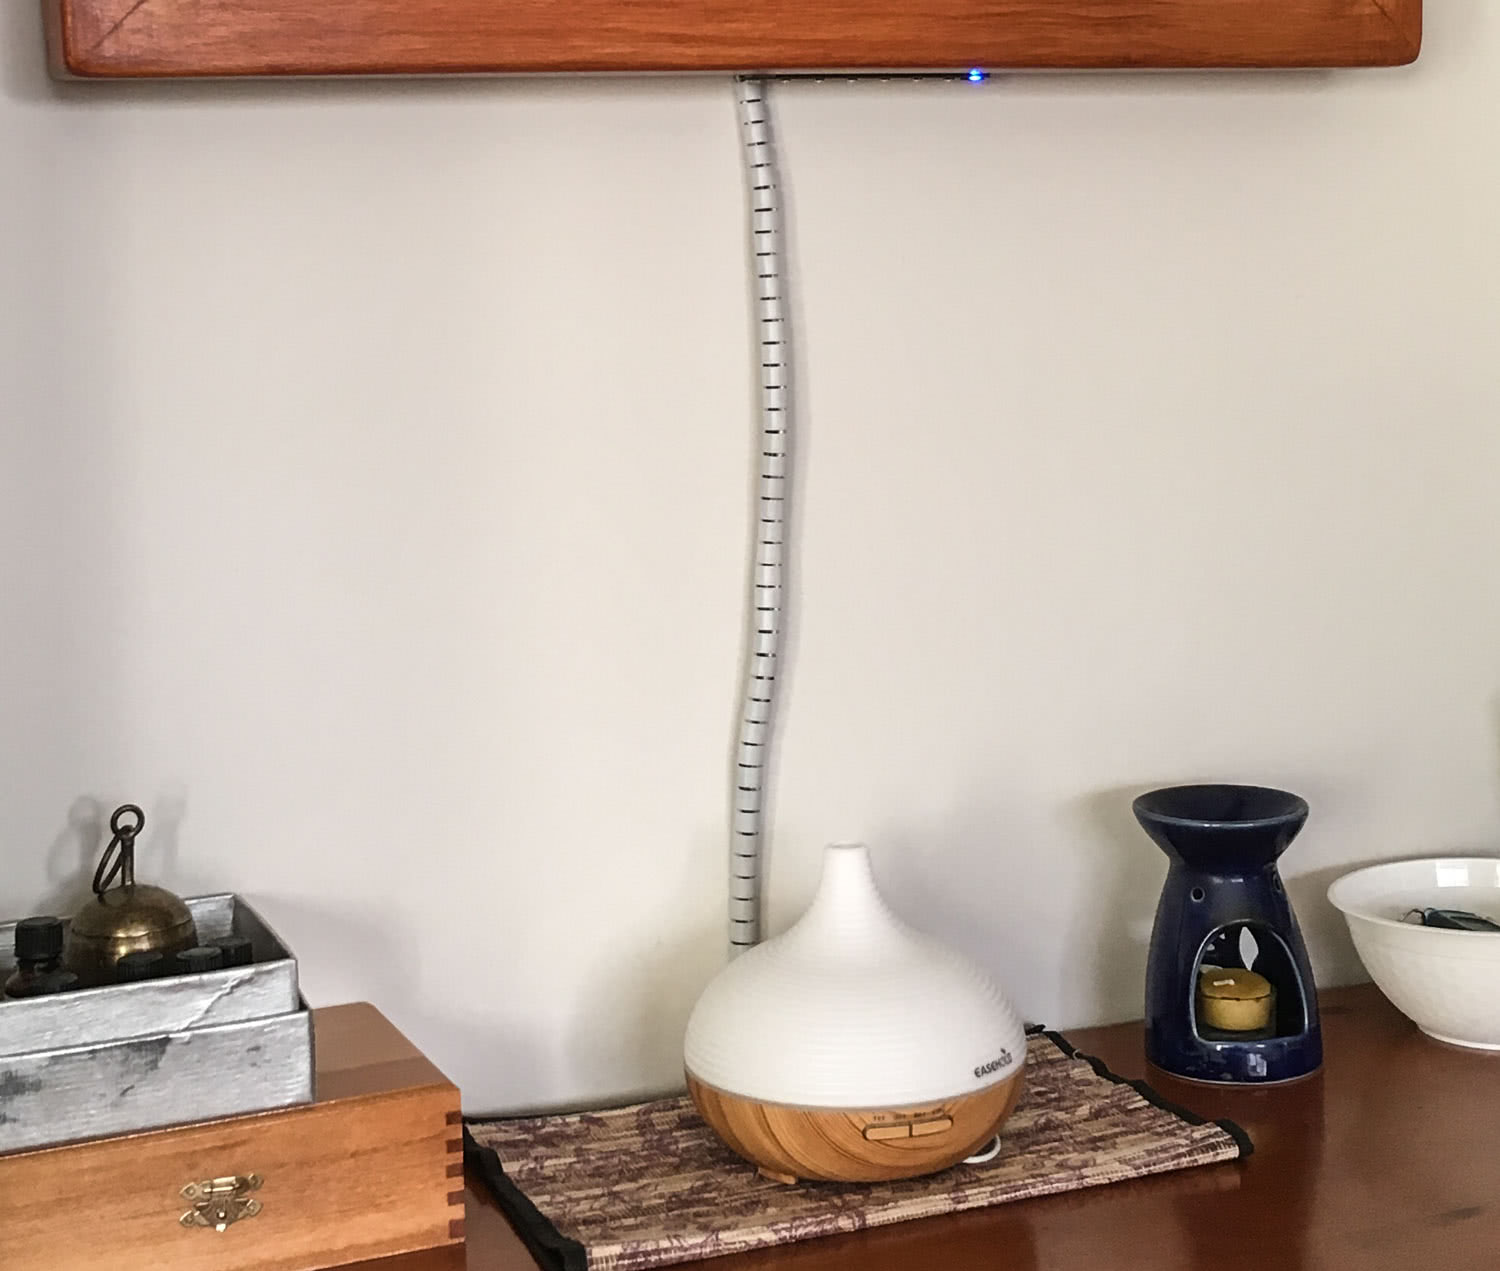
I then put it back on the wall and noticed that the wires looked kind of messy:
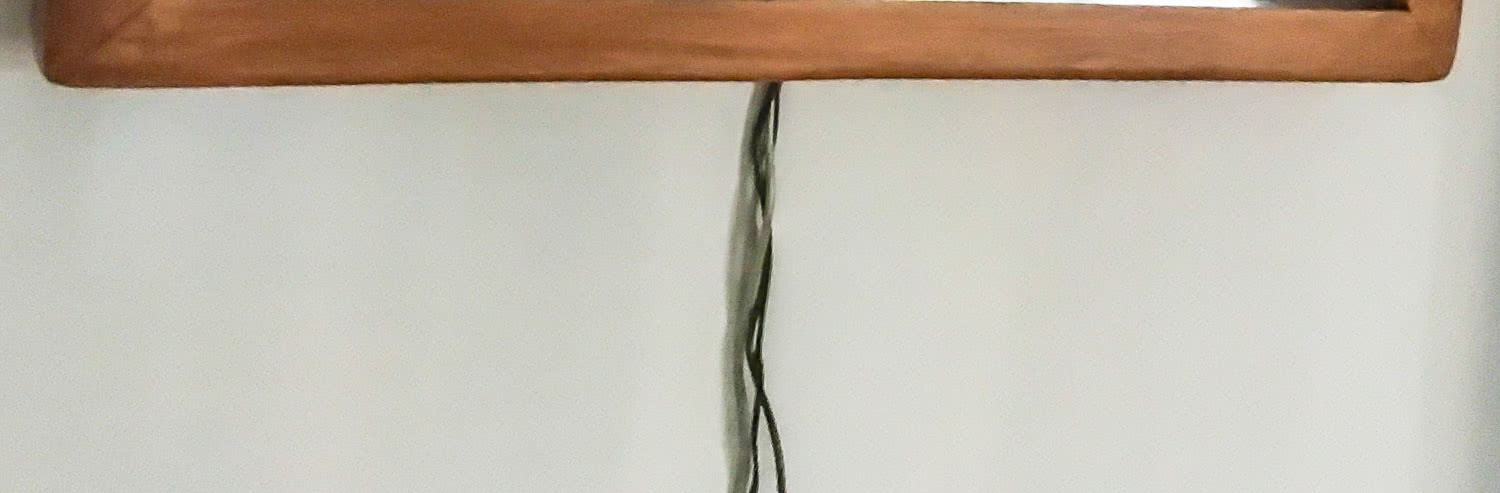
So I picked up some cable tidies from ebay
Then I added the camera and microphone to the top of it (I wish I had come up with a better place for these):
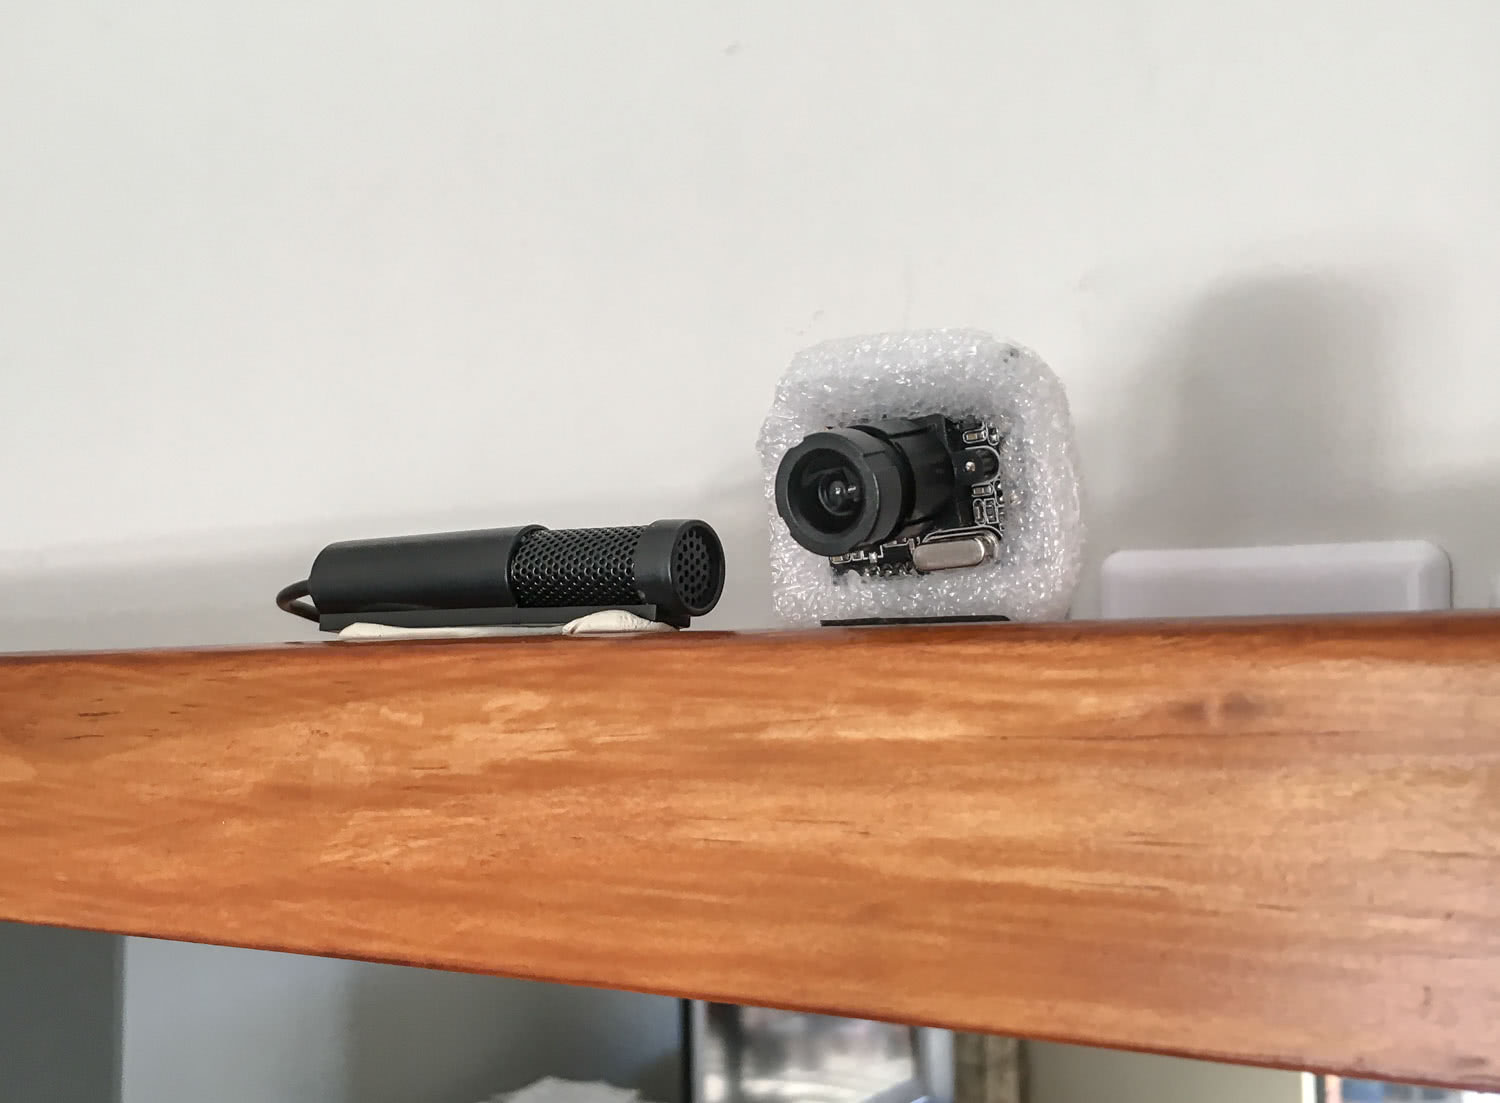
Ahh much better, looking good! Now I just have to make the software work. As a professional software developer that should be easy.. right?
Conclusions
Phew! That was a long process, thanks for sticking with me. It turns out, woodworking is actually much harder than I had expected. Apparently being good at making software doesnt automatically translate to being good at hardware, who would have thought it!
I made plenty of mistakes but im actually really happy with the result. I dont expect it to last a million years like a Ron Swanson crafted masterpiece but it does the job and doesnt look too out of place with the rest of the furniture :)
Moar!
This is a 3 part series, find the other parts here:
- Mikes Mirror - Overview
- Mikes Mirror - Hardware
- Mikes Mirror - Software