Mikes Mirror - Overview
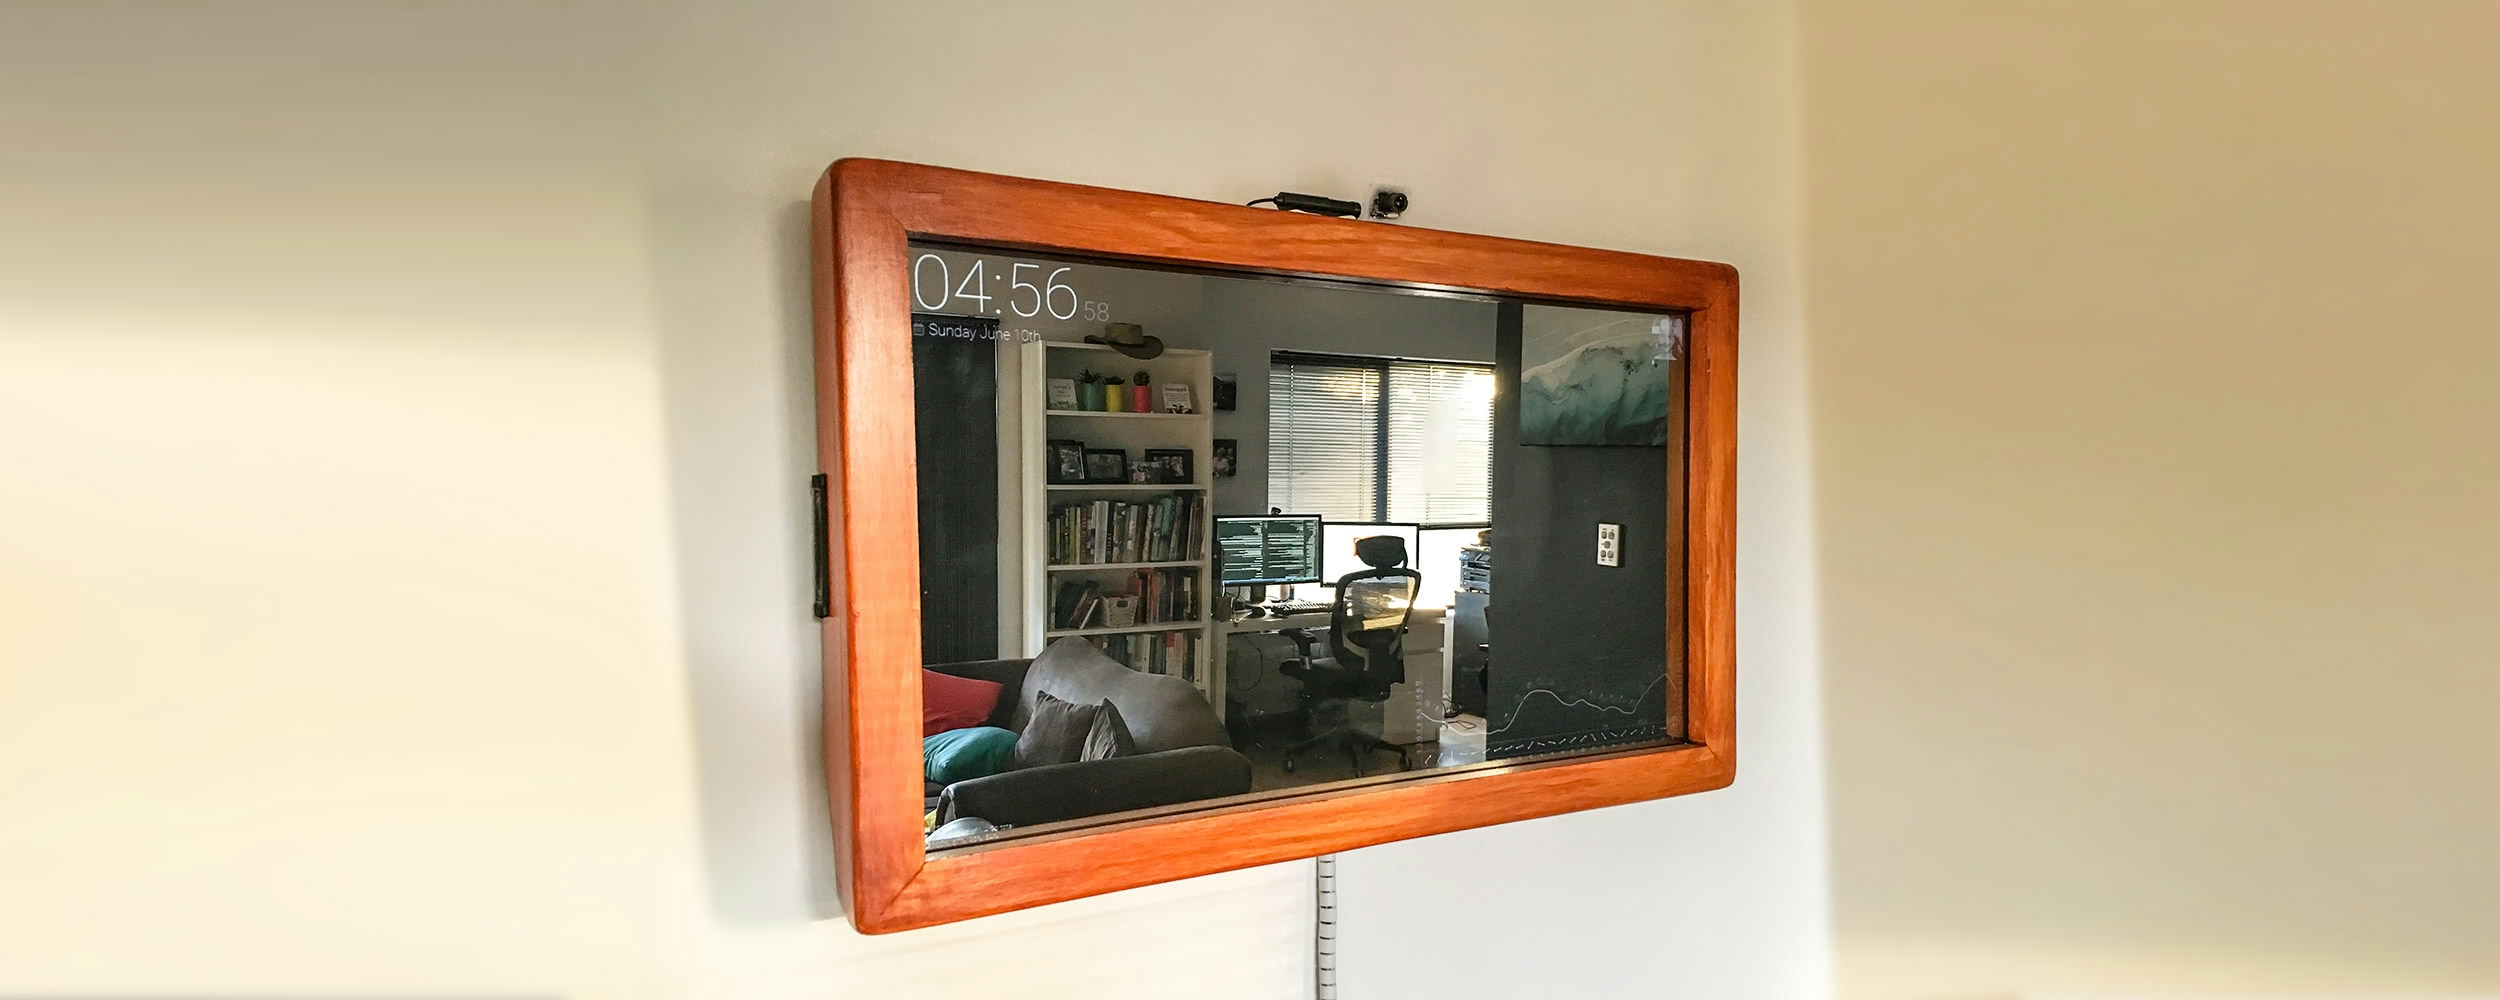
I have been wanting to do this for a while and as I recently found myself with a little spare time I decided to finally do it... build a Smart Mirror.
TL;DR
Checkout the video.
What Is a Smart Mirror?
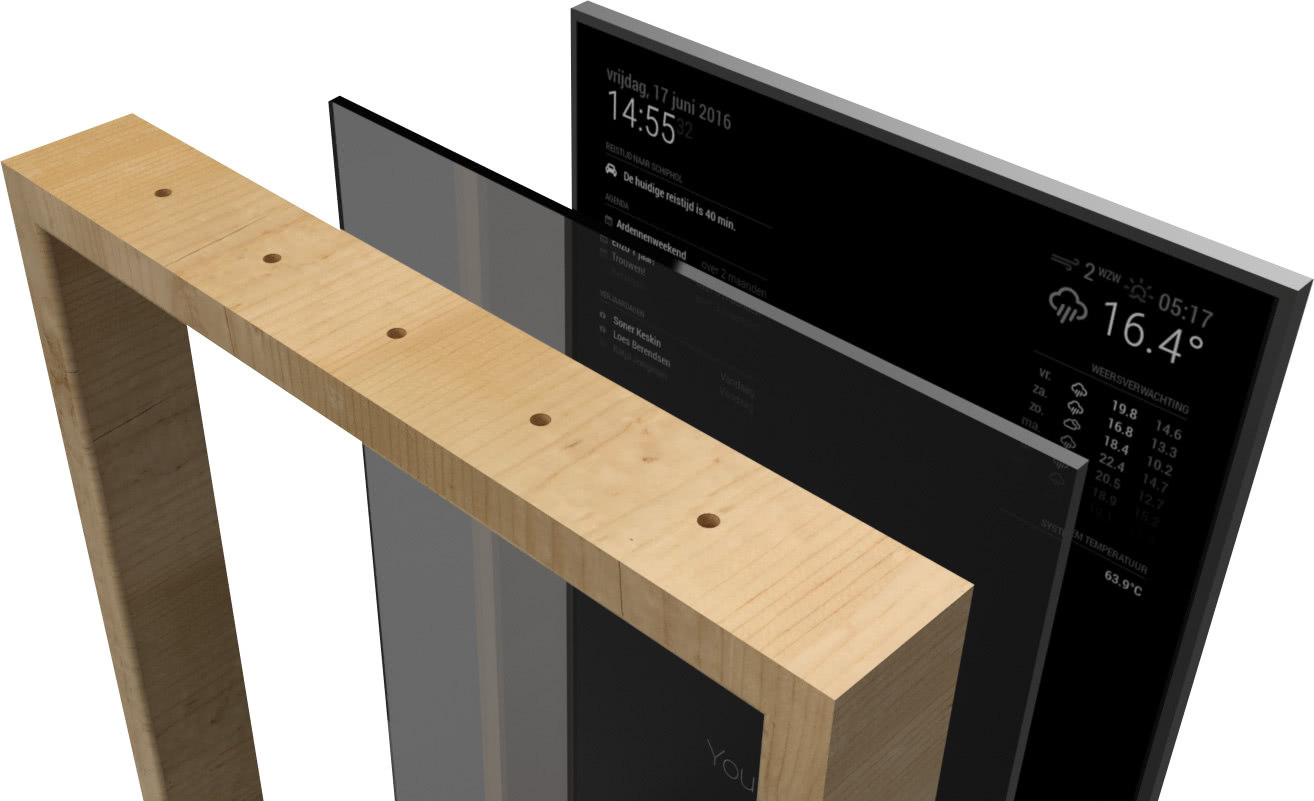
Put simply it is just a computer display behind a two-way mirror so you can both see your reflection and the monitor behind.
 (img src https://magicmirror.builders/)
The key concept is that much like a pair of sunglasses or a police interrogation room, you can only see whats behind the mirrored surface if there is light shining through. This means that when the screen is dark you will get a reflection but when the monitor is displaying something you will see that through the mirror instead.
Connected to the display is a small lower-power computer such as a Raspberry Pi, this lets you show whatever you want on the mirror.
Why?
Good Question. The short answer is: why not? The long answer is: I think its just a cool fun project plus there are a number of things this could be useful for. Its basically your own personal dashboard so on mine I have it showing the weather, time, and hopefully in the future my Fitbit stats from my watch.
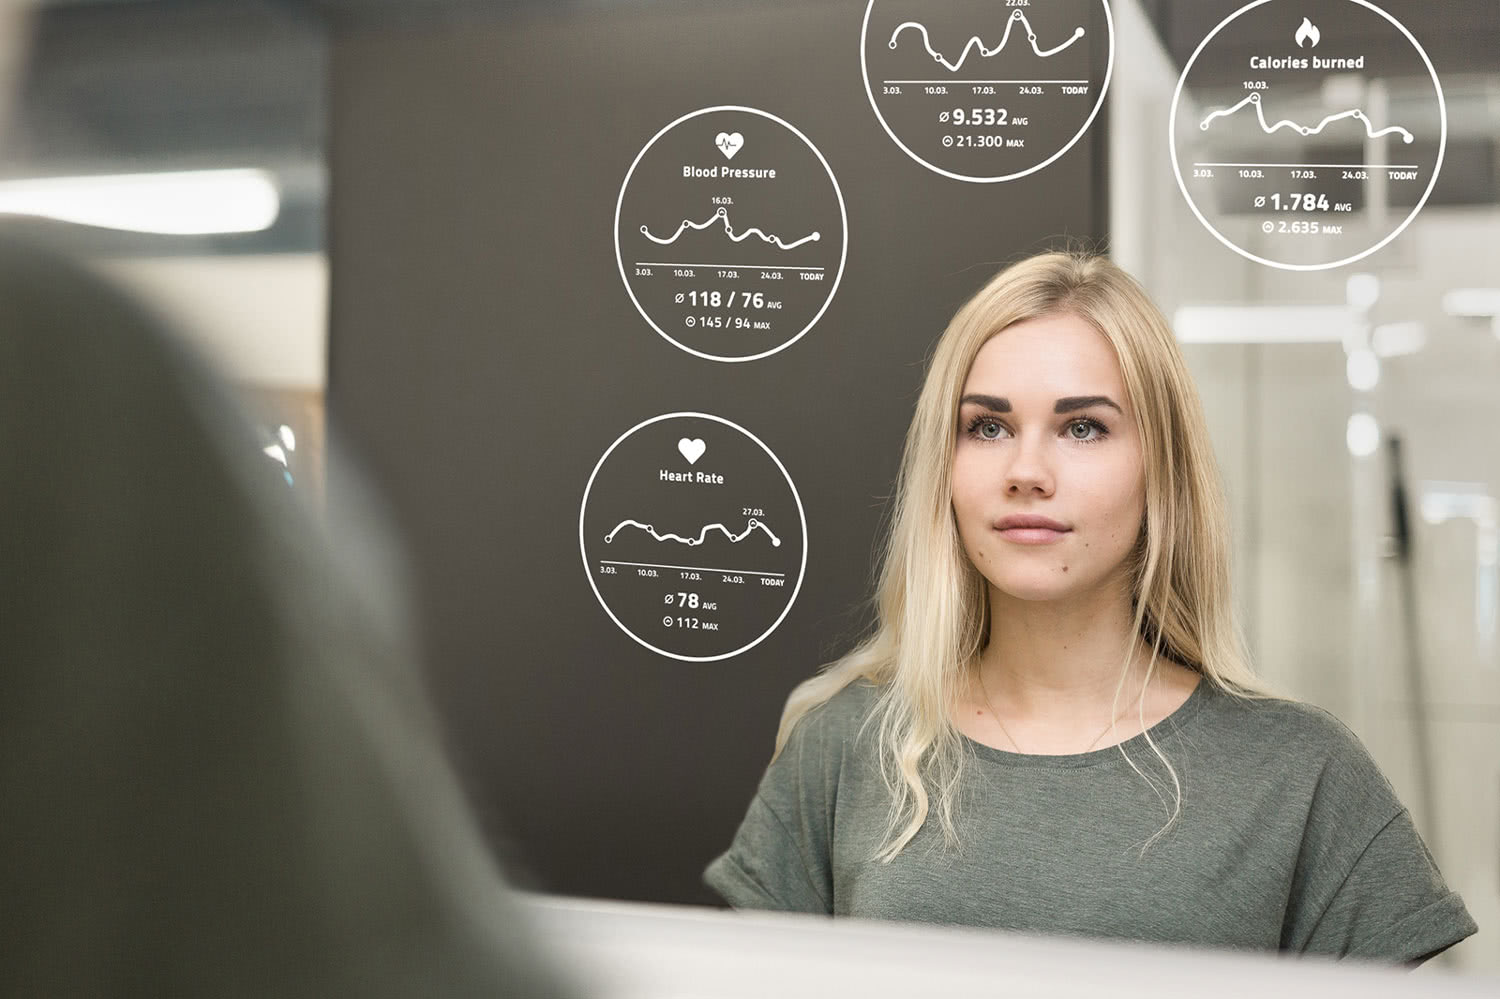 (img src http://daniel-erhart.com/smartmirror.html)
When you pair the mirror with some Facial Recognition or Audio Commands then it could become the smart-hub for your home except unlike pure audio devices such as Alexa or Google Home you can have a visual representation too.
Building
The building of the mirror was quite an involved process so im going to dedicate posts to both the software and hardware side of things.
Cost
So how much did the whole thing cost to build?
- Monitor - Office Works - $257
- UpCore - $181
- Two Way Glass - $150
- Random Cables - $25
- Woodworking Tools - $112
- Wood - $25
Total: 750 AUD
Which is quite a bit more that is strictly necessary and would probably be quite a bit cheaper if I was to do it again.
For example, the I ended up buying the display brand new from Office Works instead of picking one up cheaper on Gumtree. I had very specific requirements for the screen (read more in the hardware post) and although I could have found a cheaper one second hand there would have been compromises.
The Up Core x86 processor was definitely more expensive than some alternatives. I did buy a cheaper processor ARM processor too but I was concerned about compatibility and performance so I decided to grab the more expensive UpCore x86 CPU as a backup. Im glad I did as its a great little machine and really powerful.
As I had no woodworking tools either, I had to spend about $100 to buy some. This cost would obviously not be needed next time, tho next time I think I would probably go for one that didn't need a frame, read more in the hardware post.
Time
To be honest im not sure exactly sure how long it took. I really depends on how to measure the time, some things were done in parallel, but here is a rough breakdown:
- The thinking planning and research was over a week or two
- Time taken waiting for the CPUs to arrive was a couple of weeks to here in Australia
- Getting the glass cut (three times) was a few weeks
- Building the frame and assembling was done over about 3 days
- Writing the software has been off and on again for a few months (probably could be analysed from the GitHub repo)
So probably off and on again I have been working on for the last 3 months or so.
Video Demo
What went well
- Im impressed with the performance of the Up Core. For the price and size this little thing performs really well and is x86 so runs just about anything you want.
- Im alo impressed with the monitor, it was really light and when I took it all apart the display controls still worked and fit nicely underneath.
- Building everything on React and Electron was a good choice. It was quick to iterate and there are tons of prebuilt libraries out there thanks to NPM.
When went not so well
- I had to order the two way glass three times (more on this in the hardware post)
- Light from the window behind the mirror causes issues with the face detection sometimes. As a attempt at a solution I bought a desk lamp to try to illuminate your face a little more:
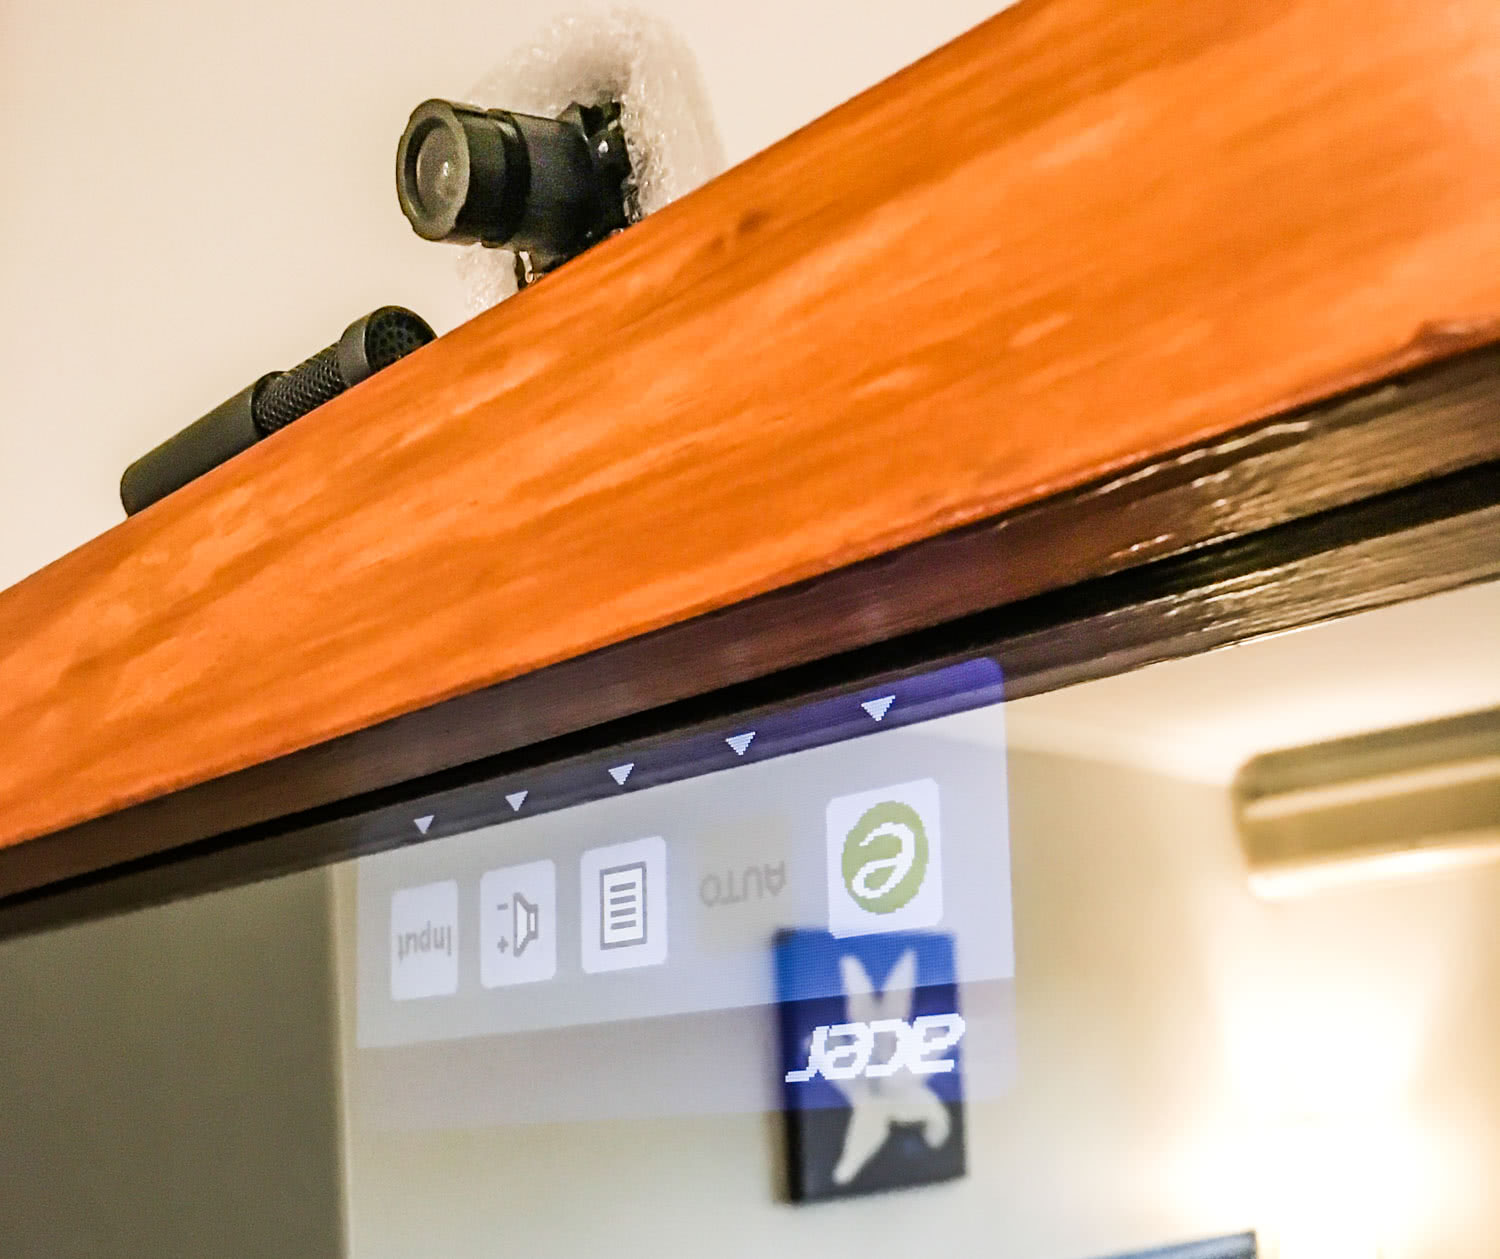
- I put the screen in upside down so that on-screen display settings for the monitor are upside down, whoops!
- Im really not a woodworker and so didnt do as good as job as I would have liked there (more on this in the hardware post).
- Racked up an expensive Google Bill because I was recording voice for 500 minutes when I wasn't aware it was running, whoops!
Conclusions
It was a fun and challenging project. I would definitely recommend it if you are looking for a hardware / software project to work on. There's lots of room to customize it to your needs, just take a look at the Magic Mirror forum for other peoples projects to see how varied mirror designs can be.
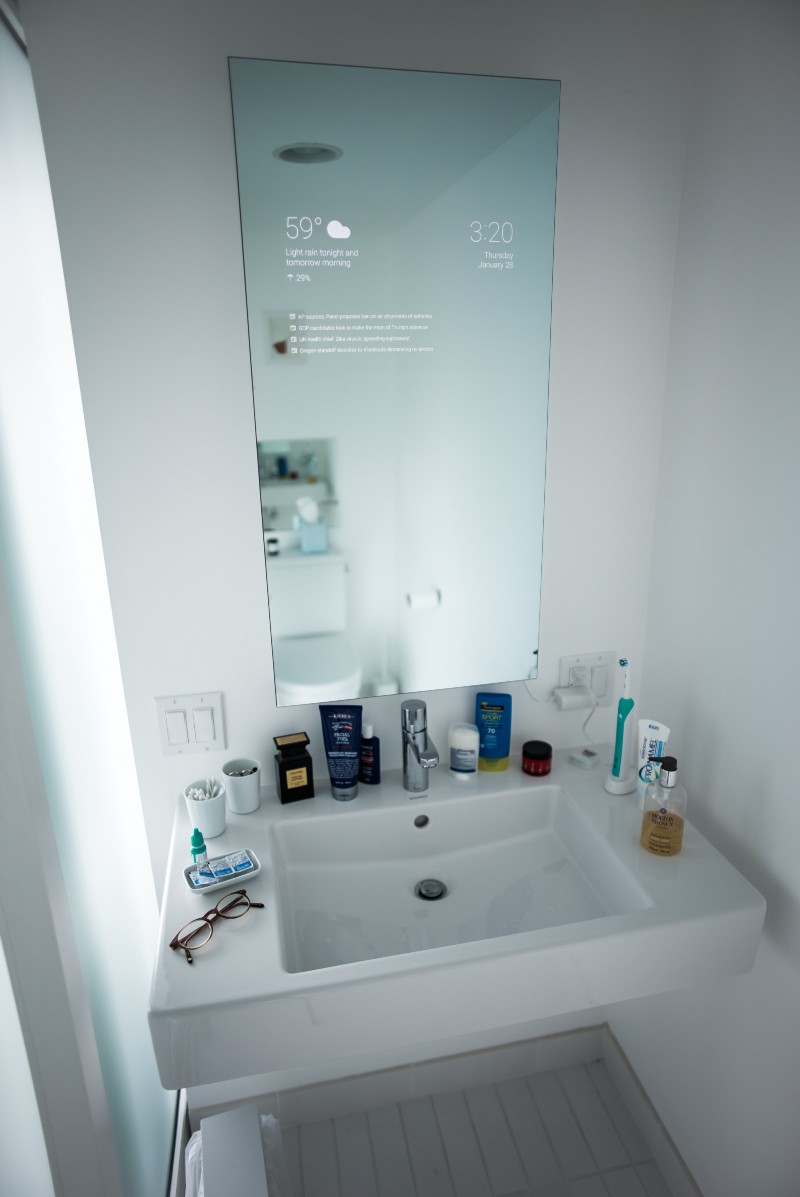
If I was to do it again I think I might so for something that didn't require a bunch of woodwork like this frameless design from Max Braun:
There's plenty more things I want to add and improve to the mirror. I suspect this will be a project ill keep adding to over time and maybe some time in the future I will do a follow-up post, so subscribe to keep up to date :)
More Reading
This is a 3 part series, find the other parts here:
- Mikes Mirror - Overview
- Mikes Mirror - Hardware
- Mikes Mirror - Software


